
E-commerce is growing and online stores are looking more and more professional thanks to easy-to-use shopping cart technology. Yet, one area that still seems to be problematic to many e-tailers is optimizing product image quality.
The importance of Great Images
She also presented a study conducted to consumers, the IRCE 2012 Report, where 75% of them listed the quality of the product images as the most important feature when shopping online, followed by showing alternative views of the product with a 66% and zoom with 61%. Therefore, it is essential that your images are of high quality – no question about it. Below, you can find an example of the kind of images that you should be aiming for:

Our recipe for great images
Below you will find the essential requirements for your e-commerce images:
1. Size
Small pictures are simply not effective as a sales tool. Therefore it’s important to make sure your pictures have a proper size to achieve great quality, high resolution images. Nowadays it’s not necessary to have a premium camera to get high quality pictures, practically all digital cameras launched during the last five years, or even smartphones, can provide you with high resolution images. As a general rule of thumb, your online product images should be at least 2000 pixels on the longest side so that 1) you will be able to utilize a zoom functionality on your images and 2) your images will be large enough to be accepted on all major online marketplaces including Amazon, eBay and Rakuten. That being said, producing images with these requirements doesn’t require an expensive camera. You can read our post ‘Perfect Product Images in 8 Simple Steps‘ and see the pictures Thomas took with a regular (old!) digital camera. You can also read our post ‘Take Advantage of your Camera Settings‘ and learn how to use the manual mode on your camera to create high-quality images.

Low resolution

High resolution
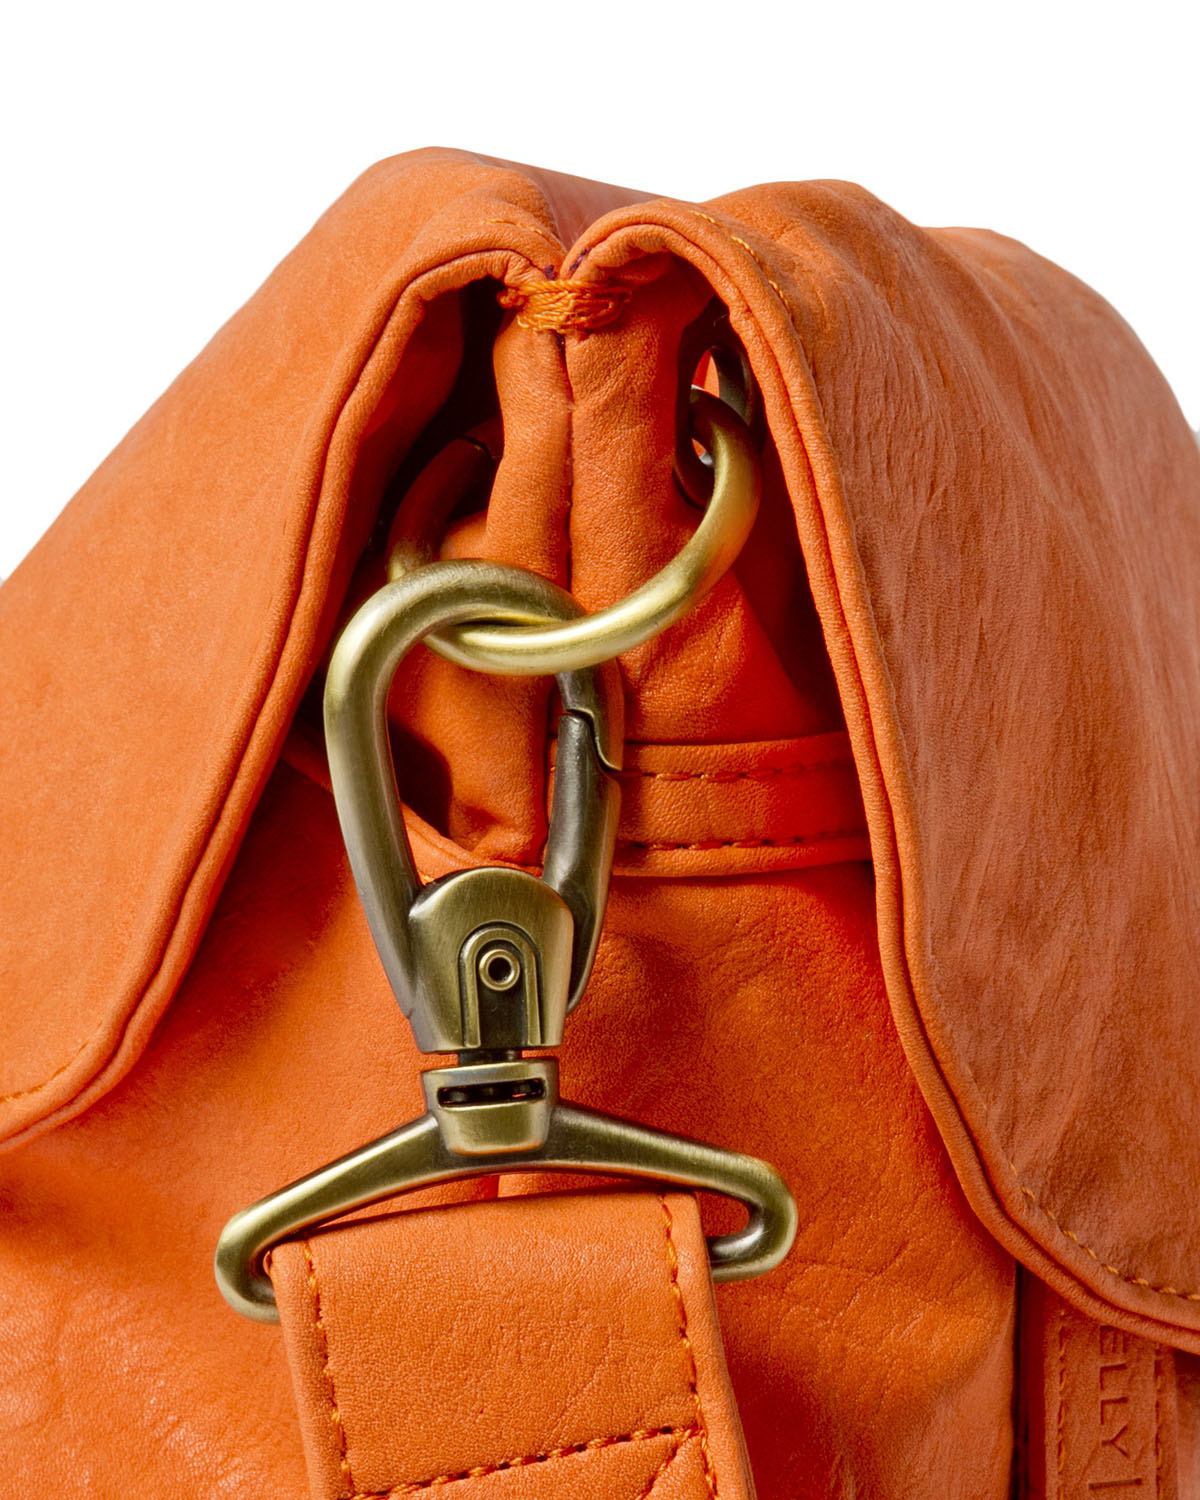
2. Zoom functionality
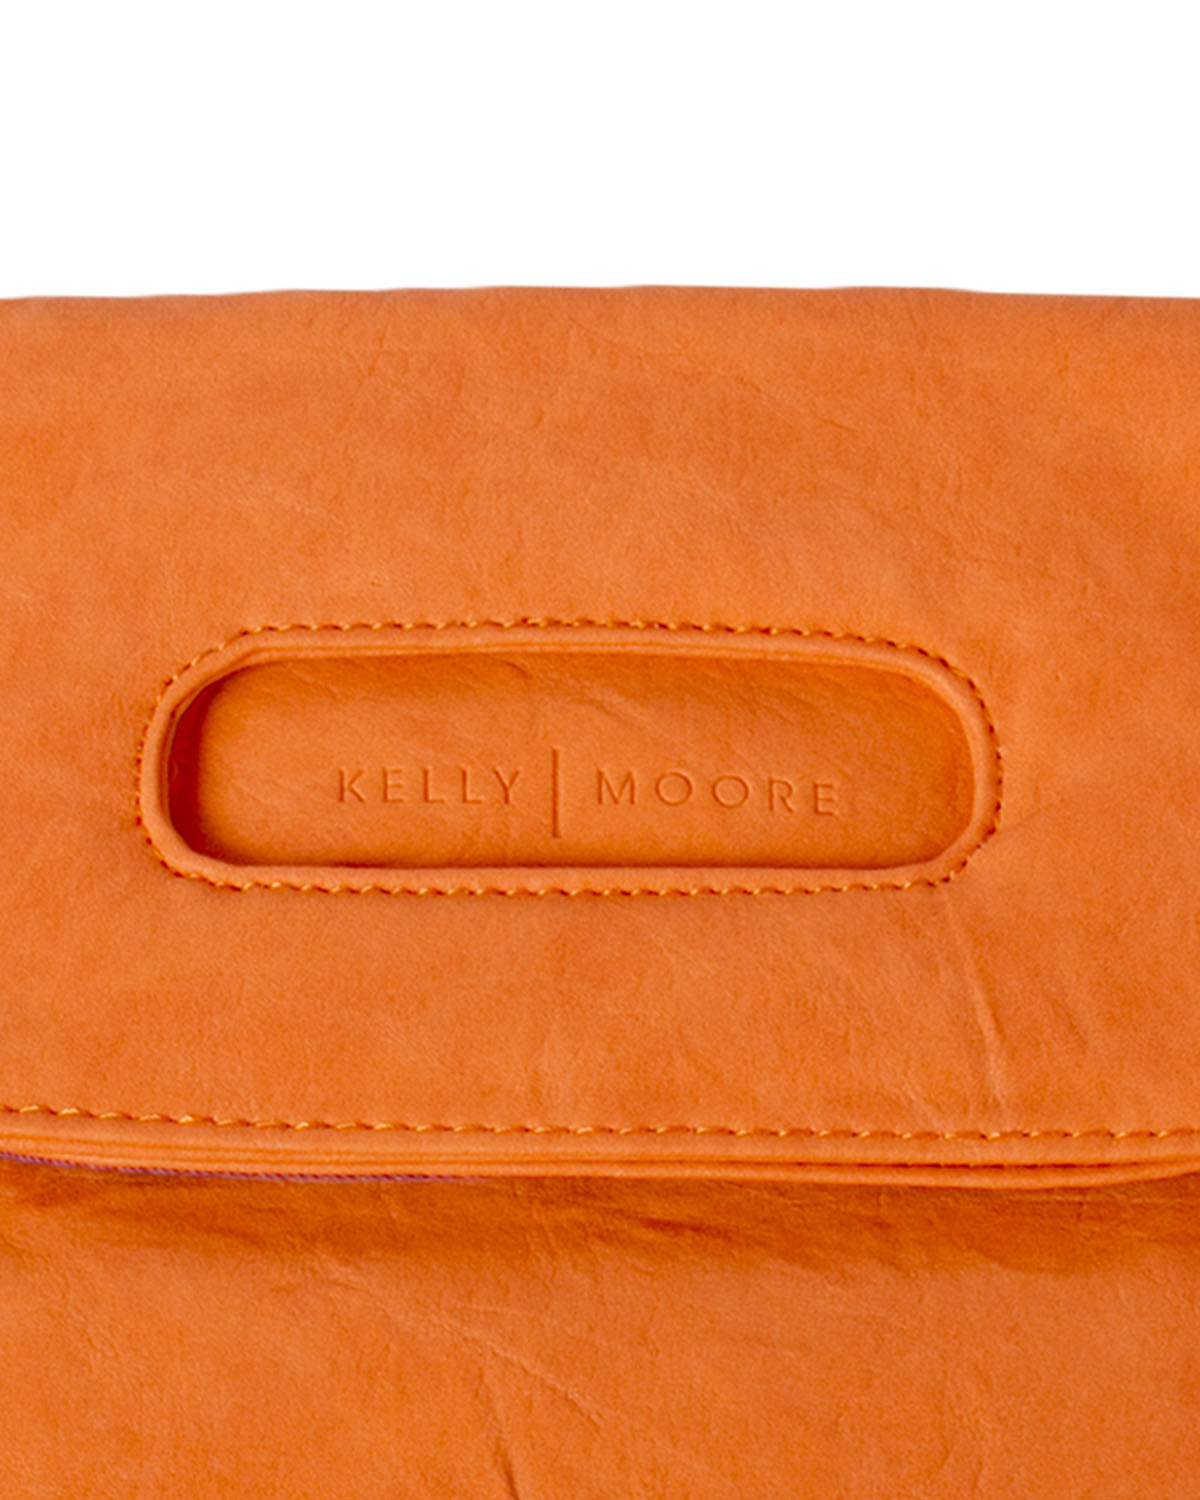
As you can see in the example below, we recommend showing the details of your product. Therefore it’s really important that potential customers can zoom in on the item to see the areas that they might be interested in. Adding zoom to your site is a simple plugin on most shopping cart systems, and it is definitely worth the cost (if any), as it means a lot to your customers. Even if your site has a zoom plugin or not, be sure to show multiple, ‘zoomed in’ product images, including shots that reveal the most important details of the product.
3. Alignment and margins
Having the same alignment and white margin on product images, creates visually consistent product category pages, and results in a better shopping experience. Most importantly, clean, professional category pages build trust with your customers and portray your online store as a reputable Etailer.
Top alignment
Center alignment

Bottom alignment

4. Shadows
Shadows can make or break a product image. A photo with poor lighting can cast unsightly shadows on the product, however if well lit, a subtle shadow can add depth and dimension to a shot. There are numbers of different shadow types that you can use. Drop shadows are subtle and can be created during the shoot or in post production. Natural shadows are created from using a natural light source such as a window, whilst reflective shadows can be made by using a reflective surface under the product during the shoot or in post production. Cast shadows (pictured below) can be produced in a variety of ways in your photo studio. Play with these options to find the look most suitable to your product and site.
Drop shadow

Cast shadow

Drop shadow
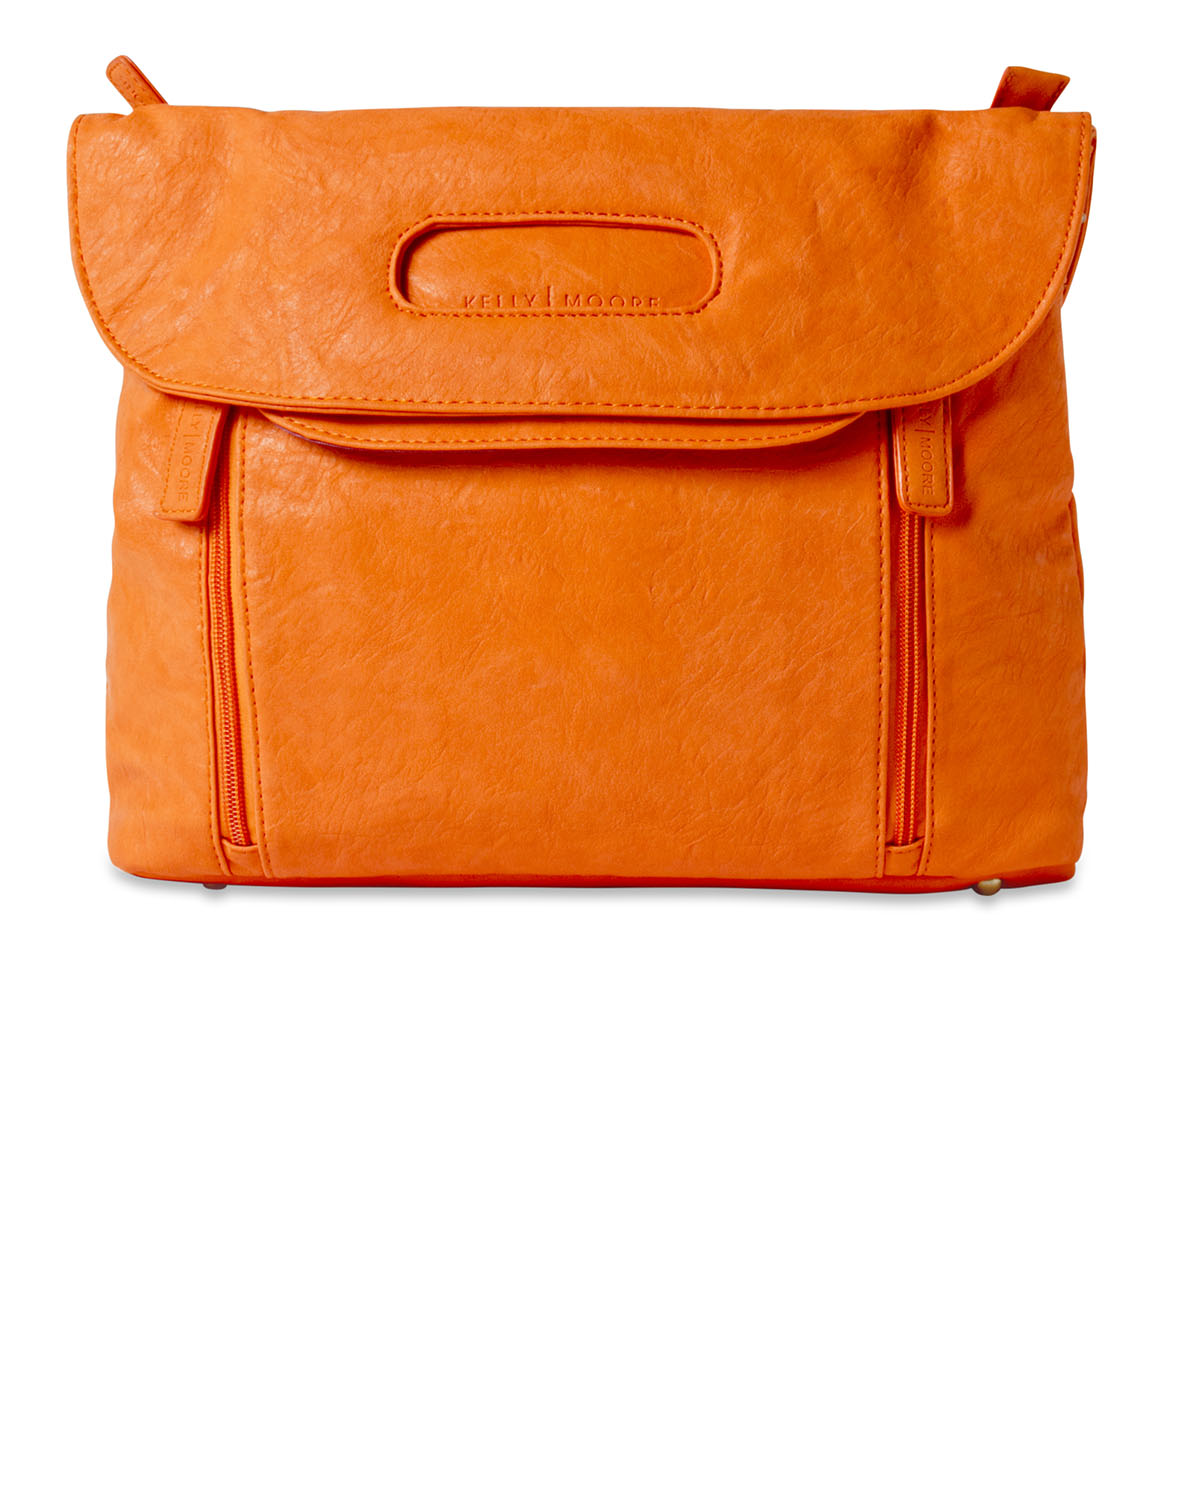
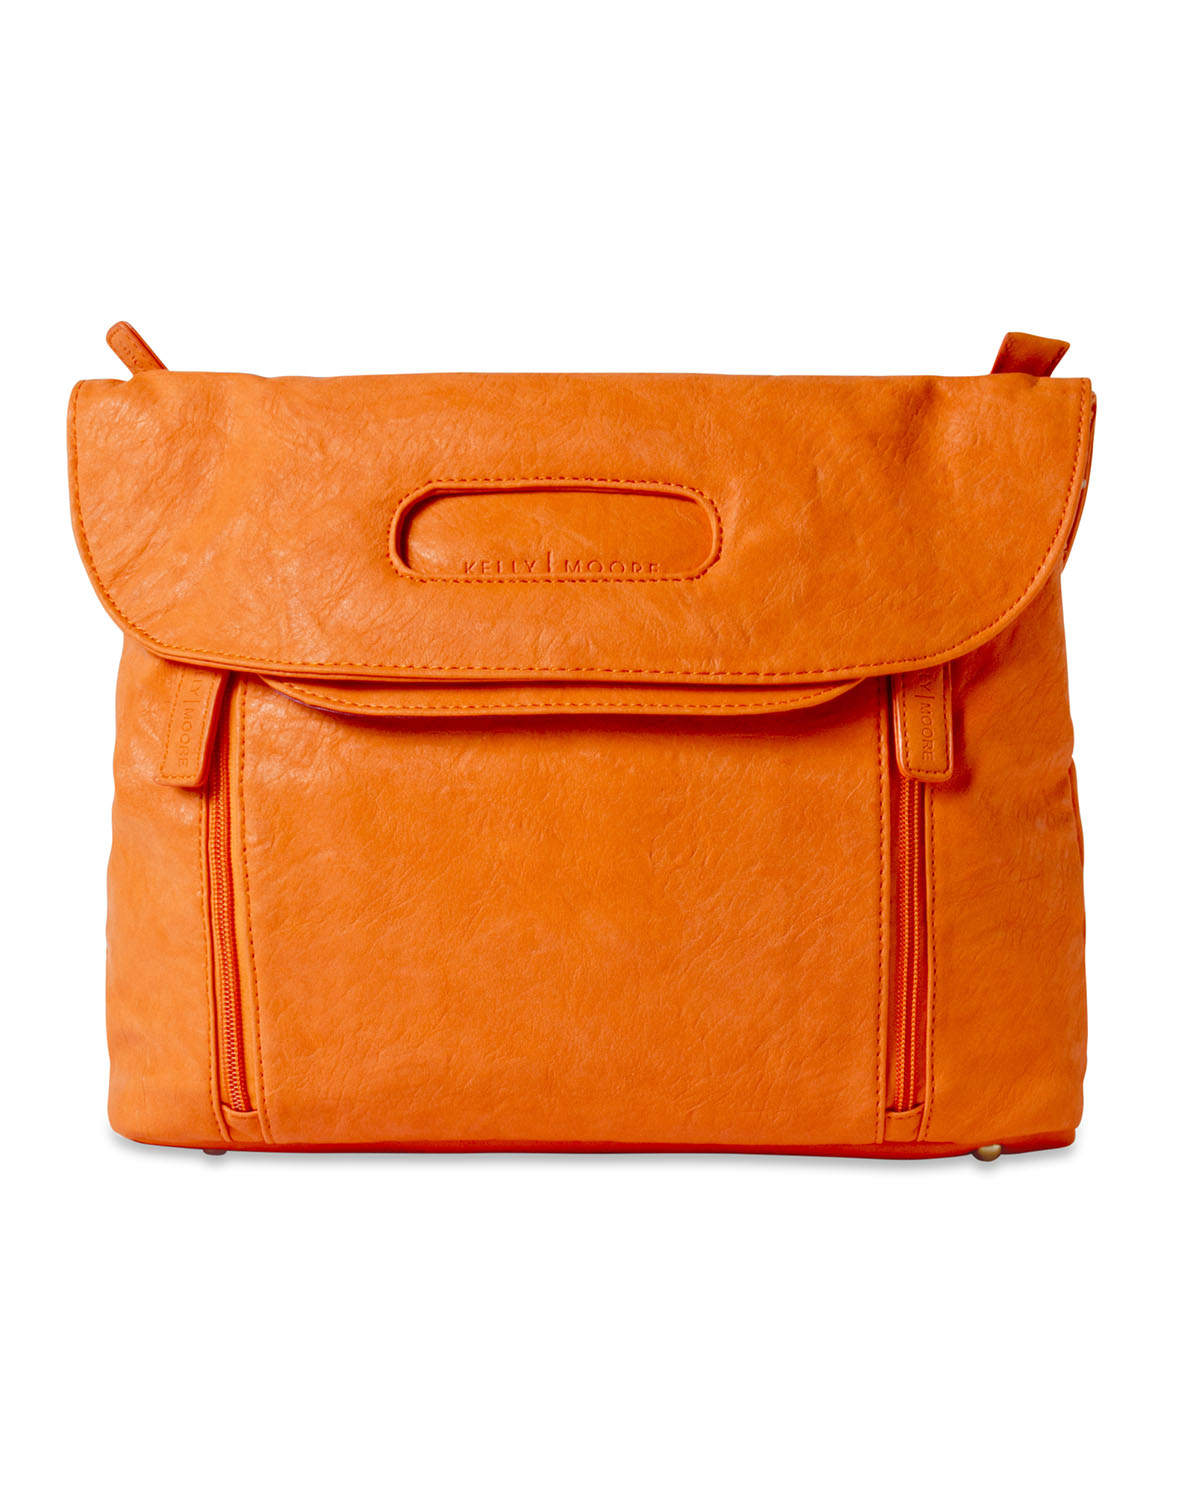
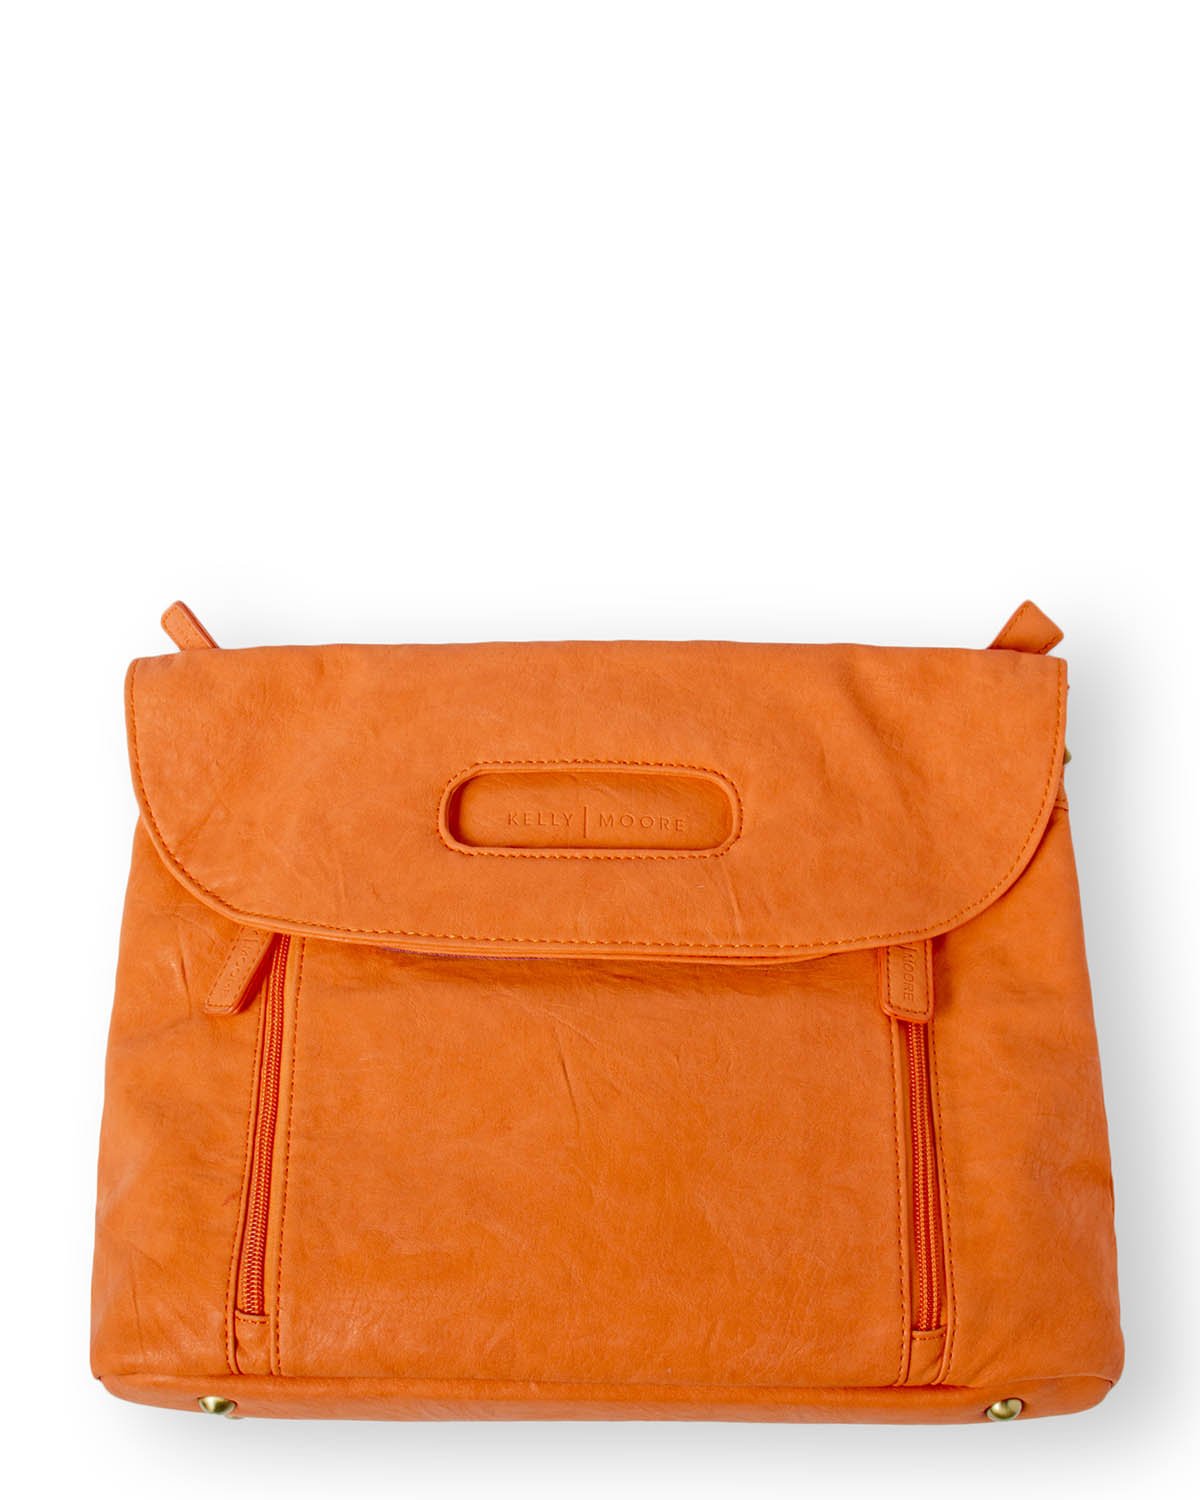
5. Background
A clean, plain background is an important factor to consider when creating your online product images. For most products a plain white background is most suitable. At the same time, a white background will also allow you to use the same product images on many online marketplaces such as Amazon, eBay and Rakuten. We recommend using the same background for all your products to add consistency and professionalism to your site.
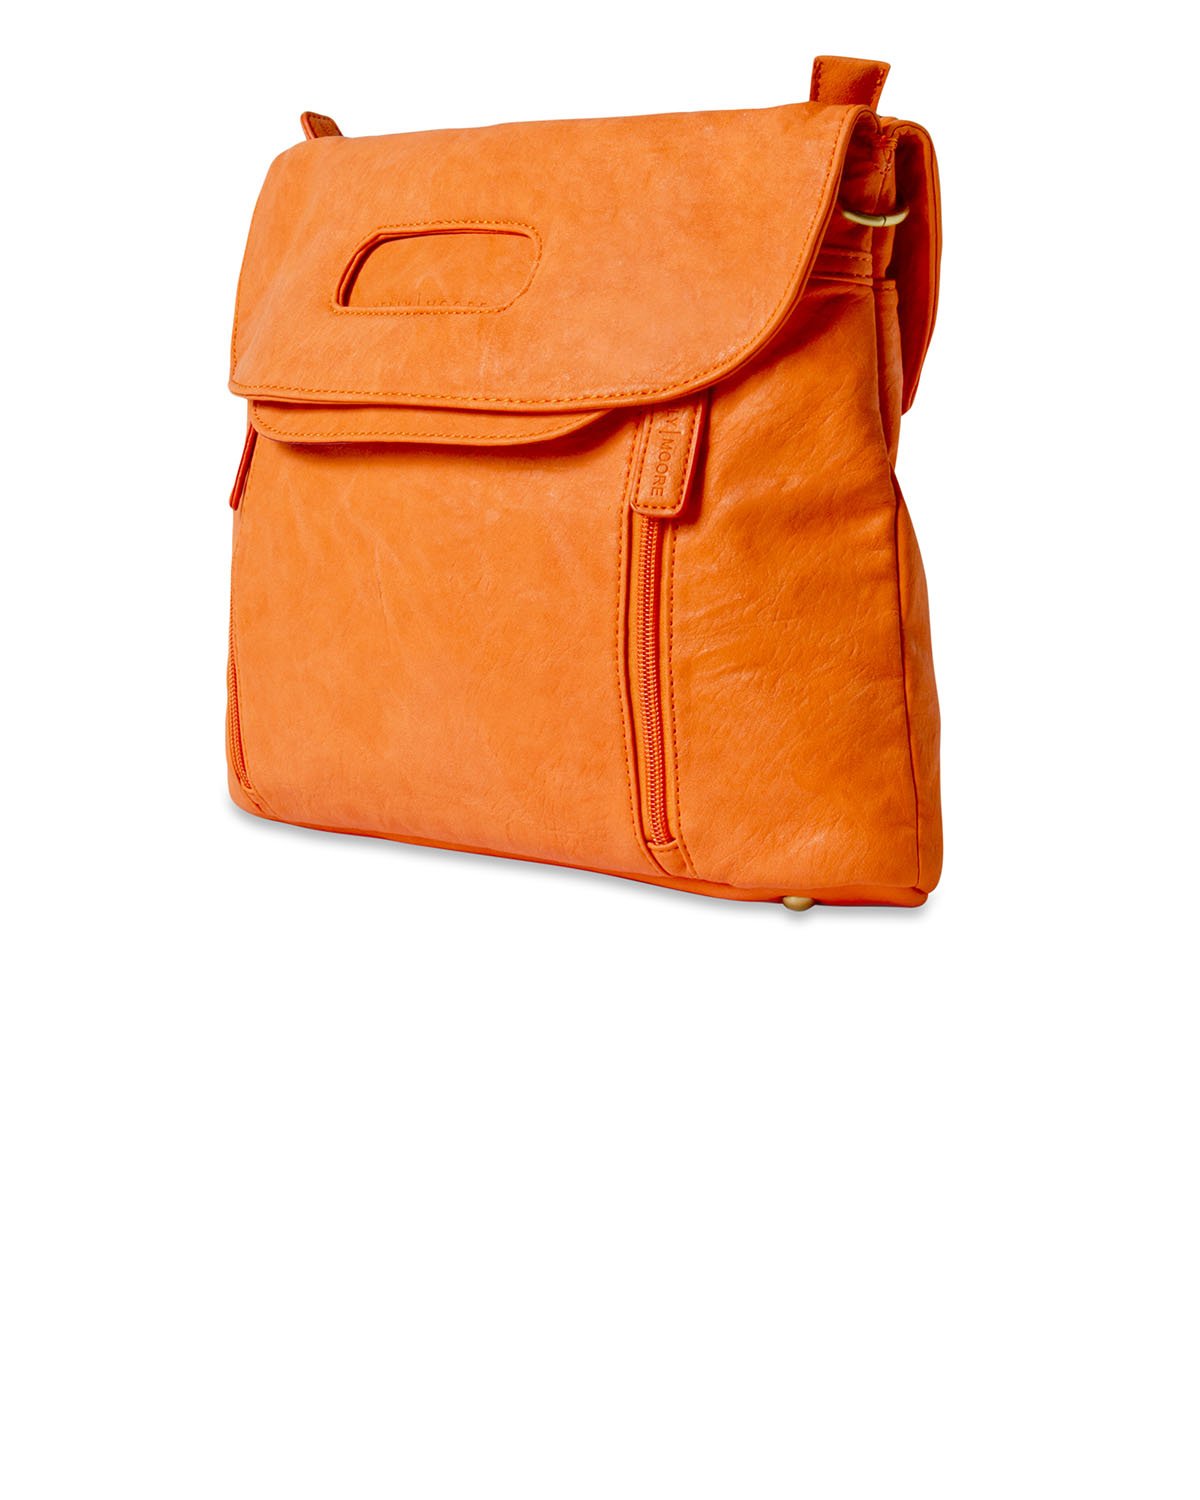
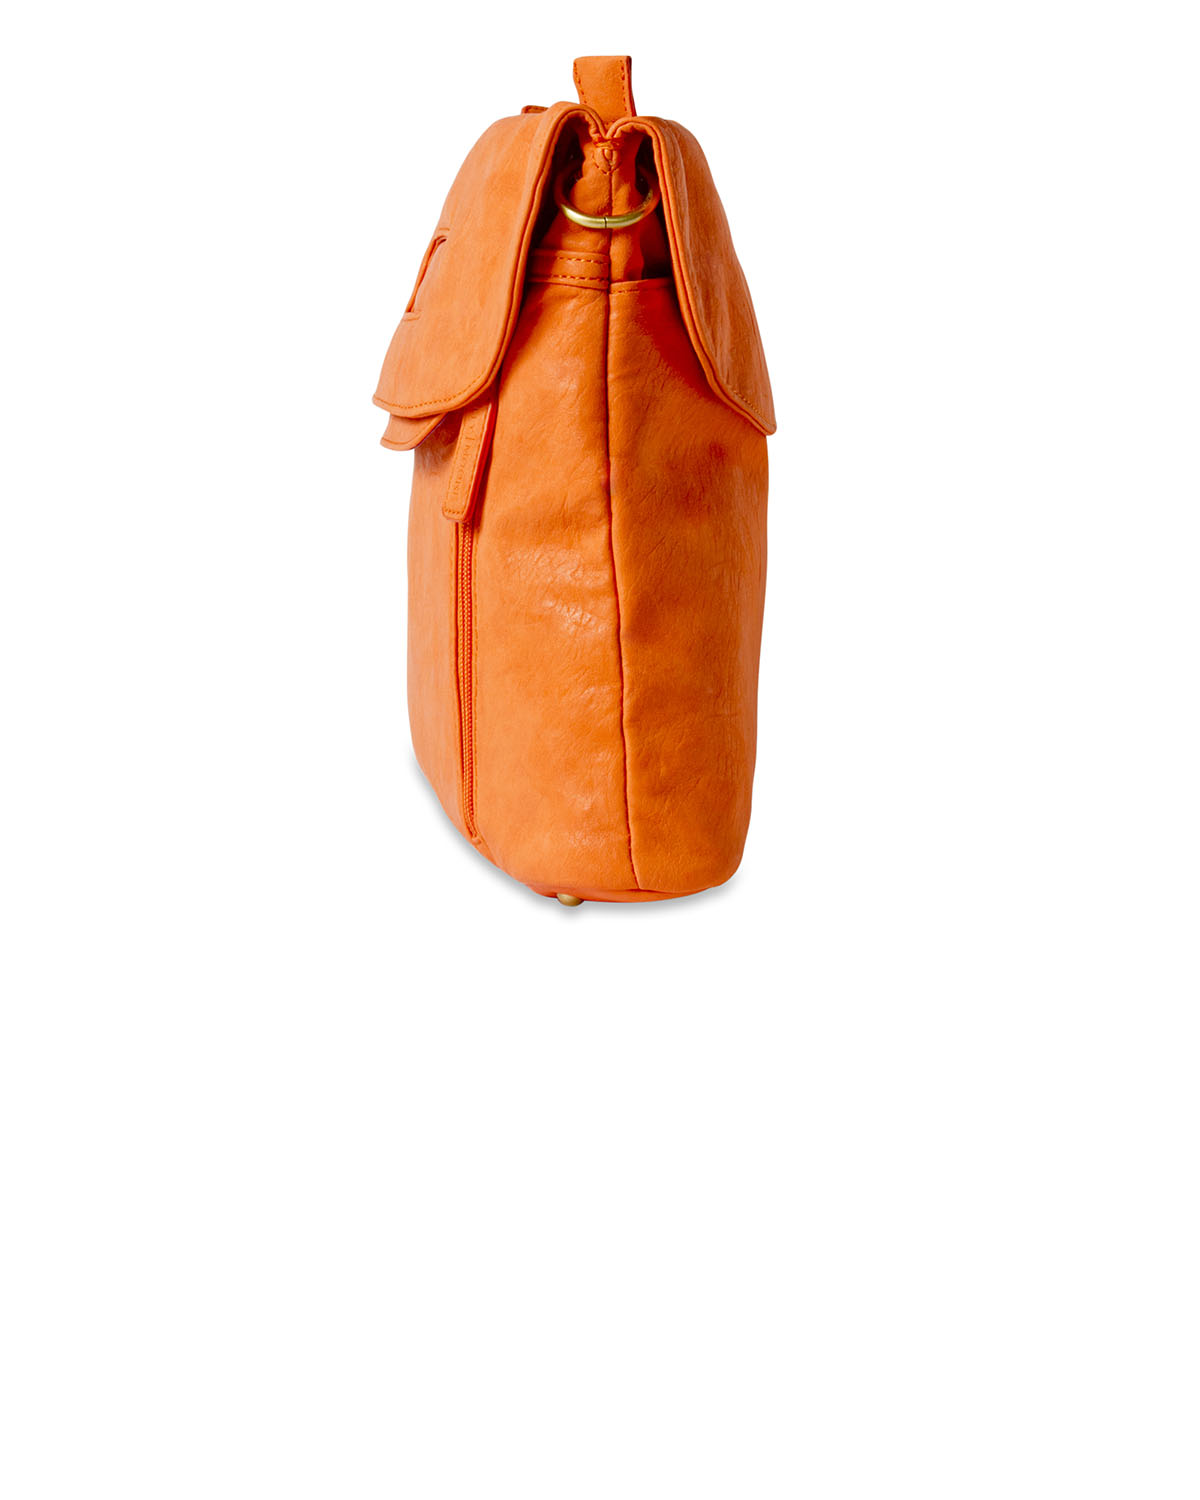
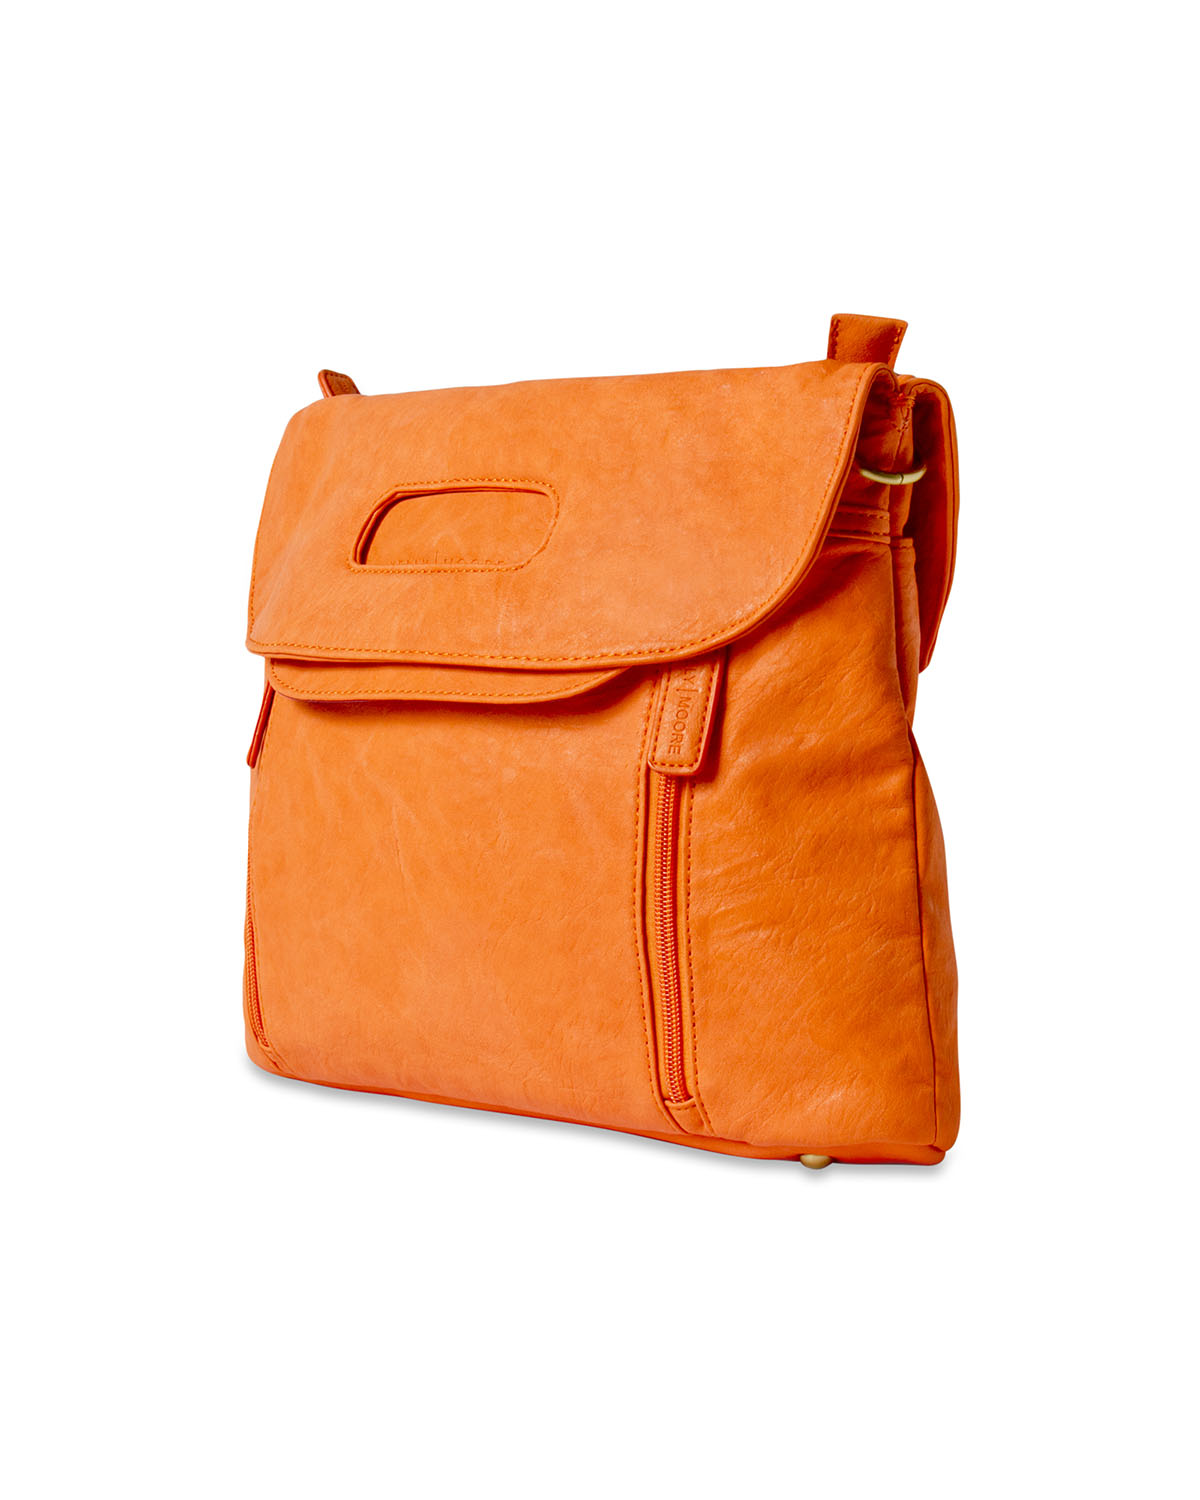
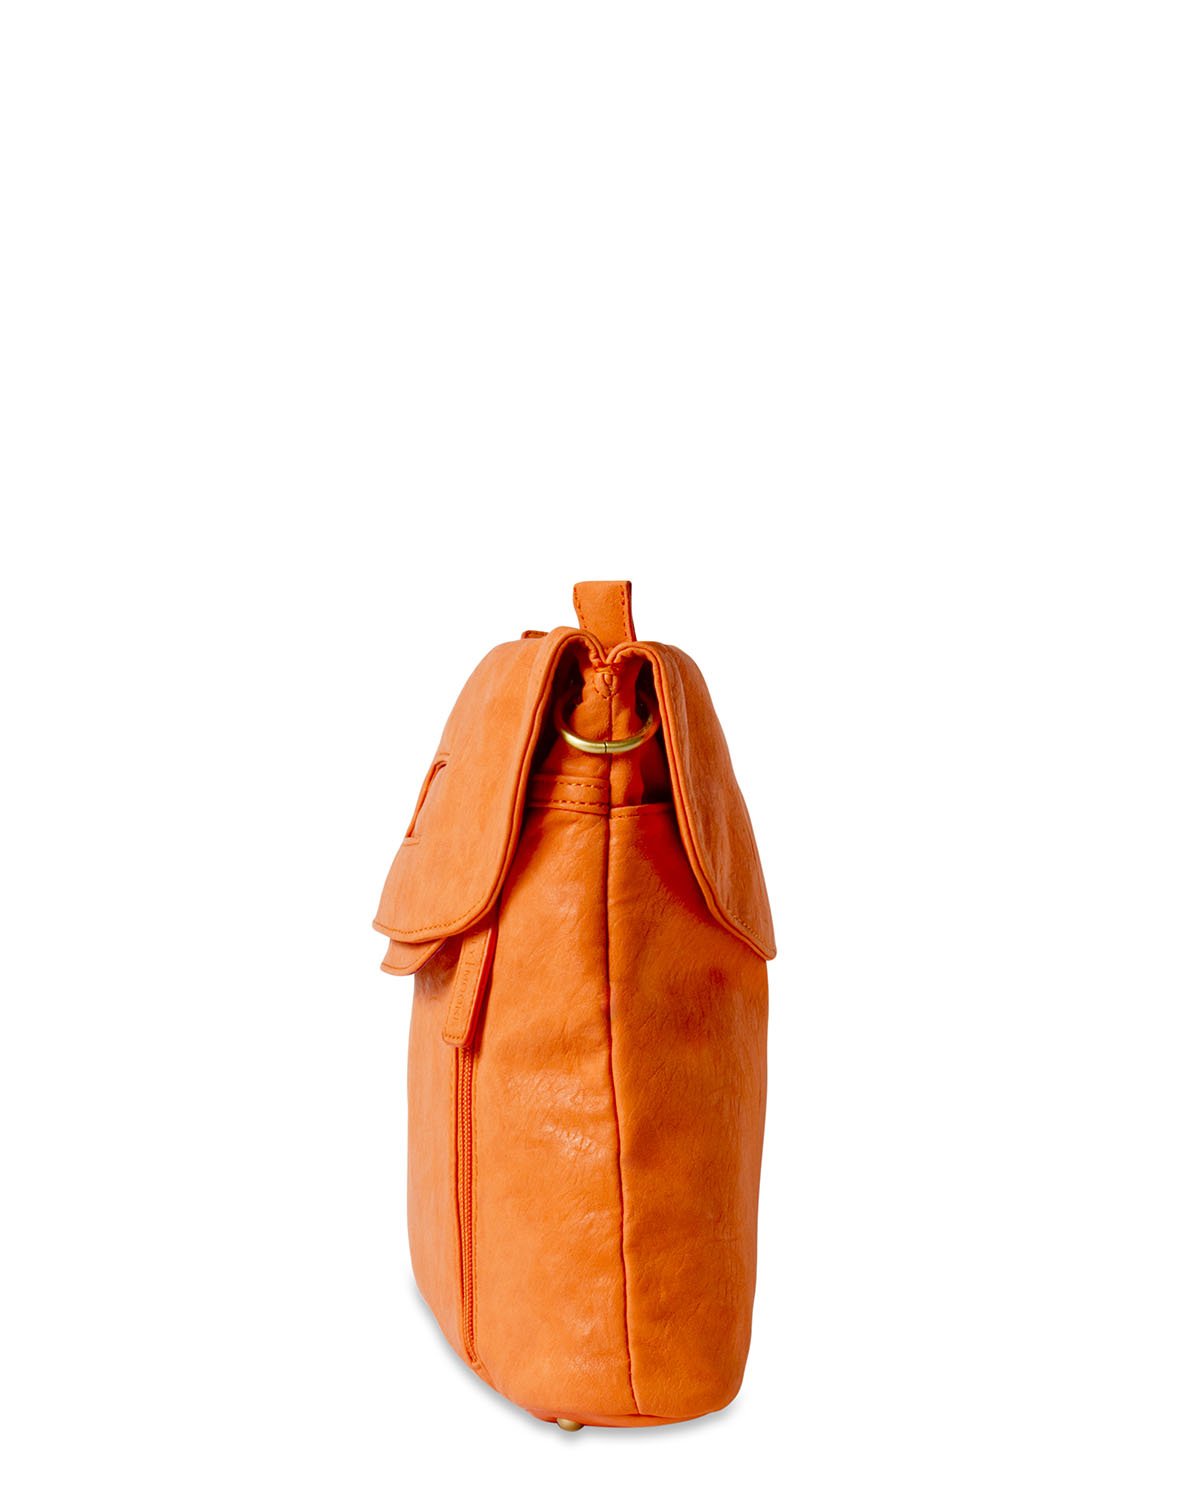
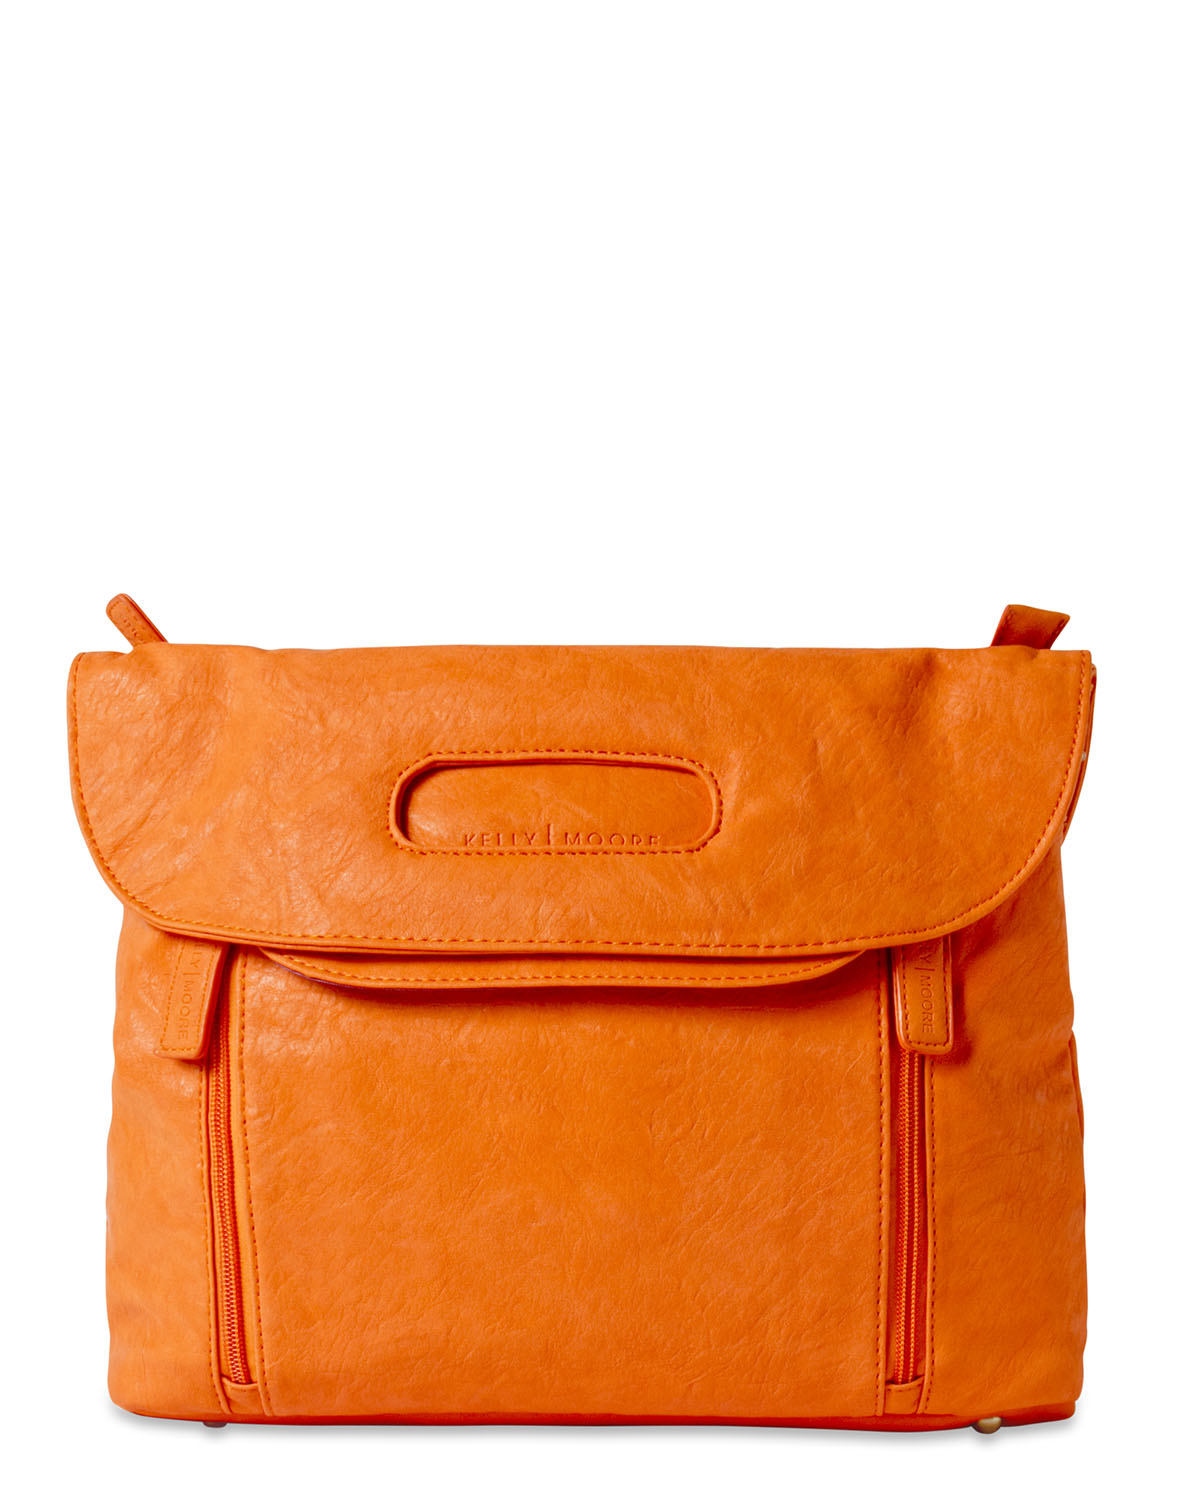
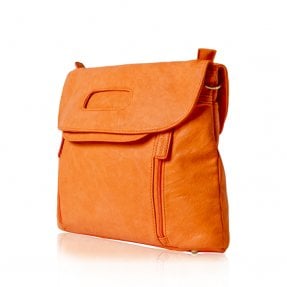
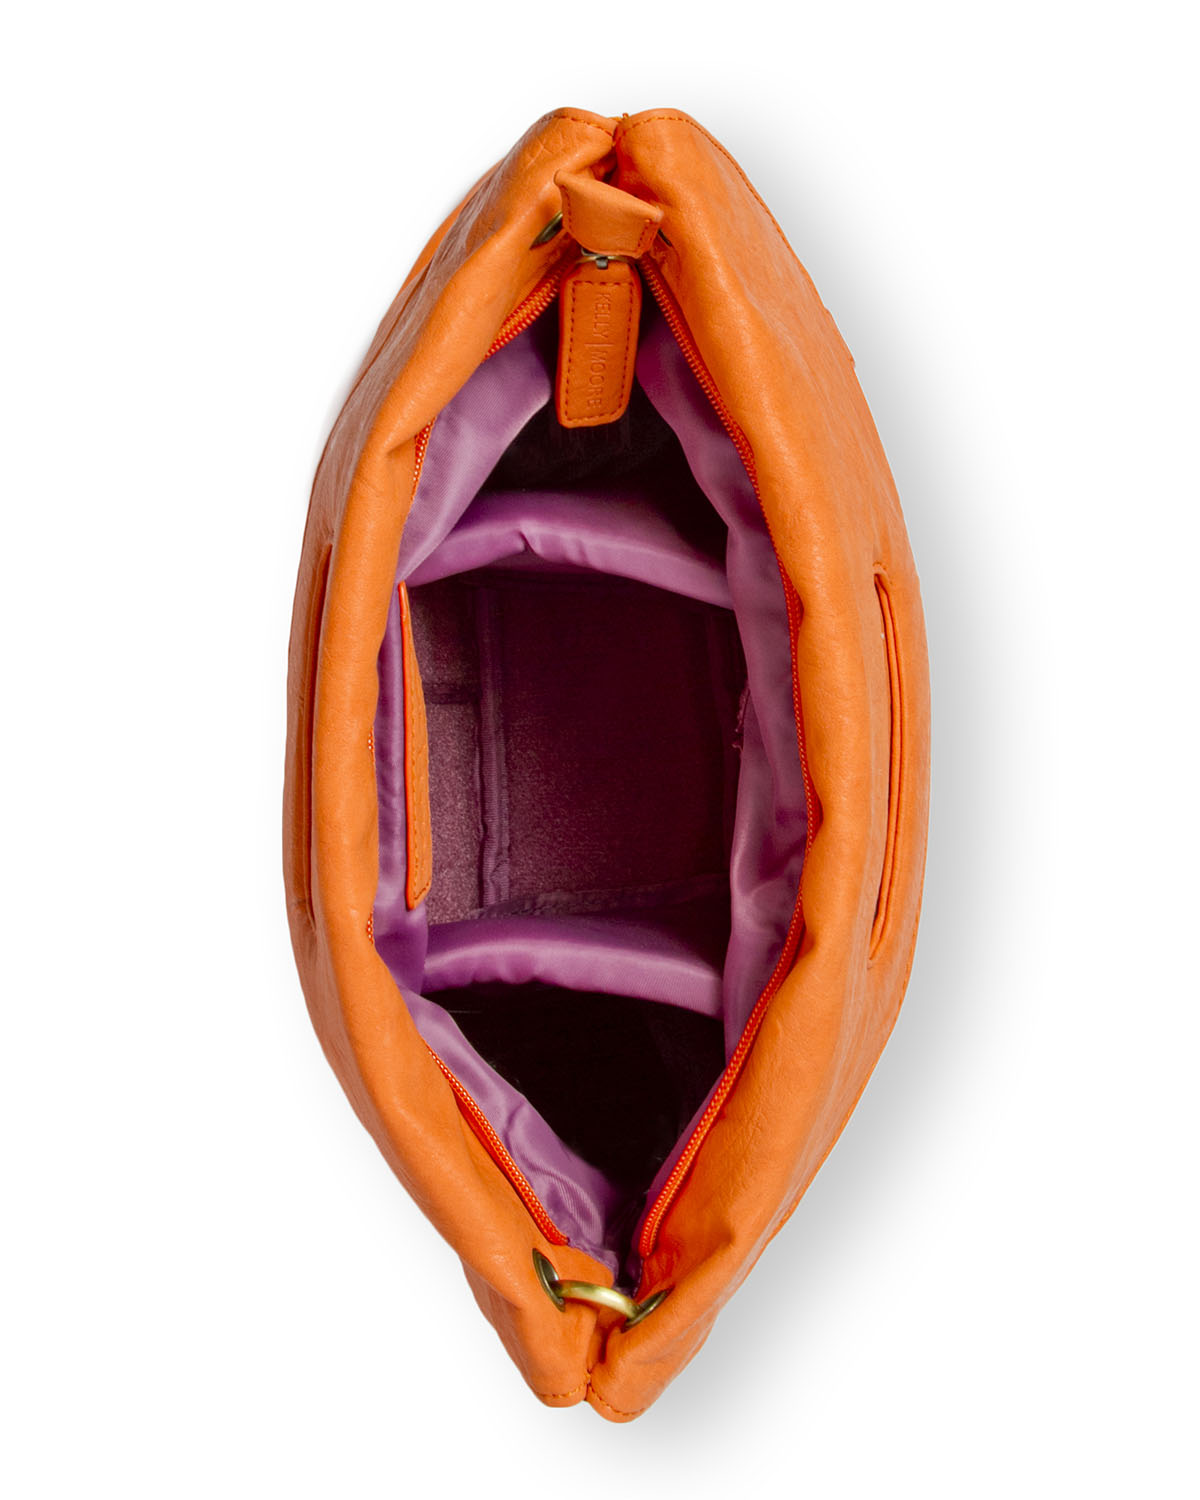
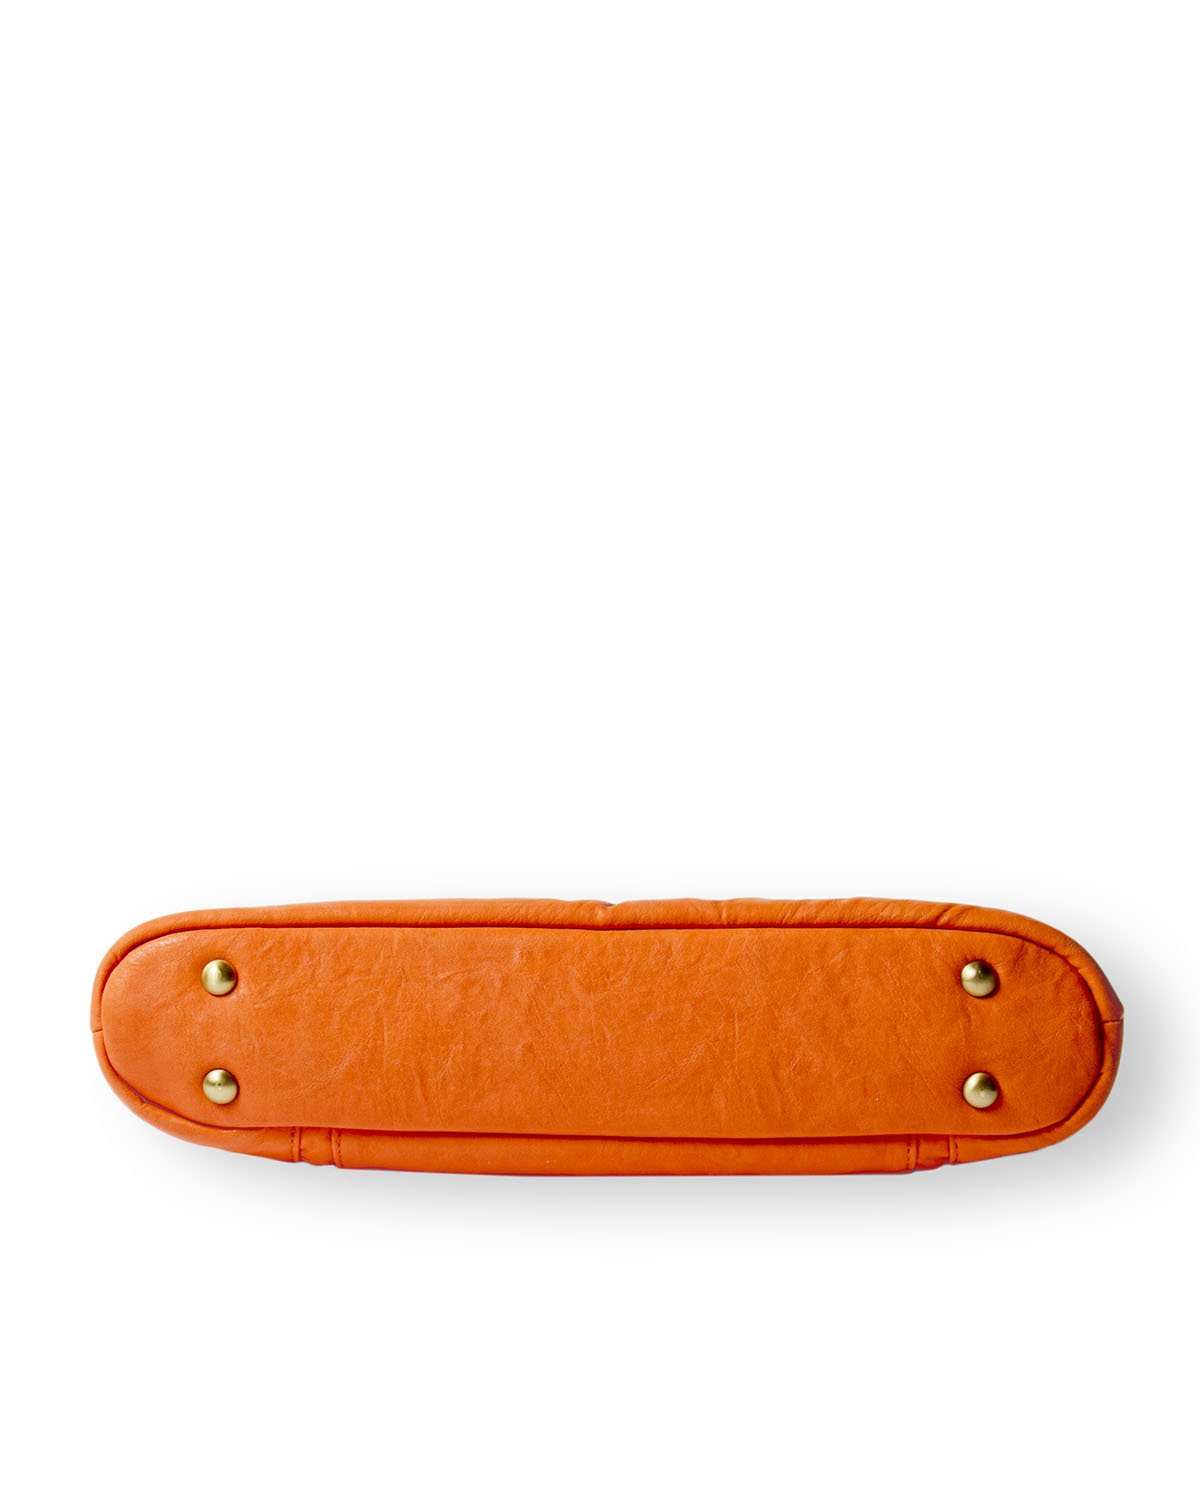
6. Angles
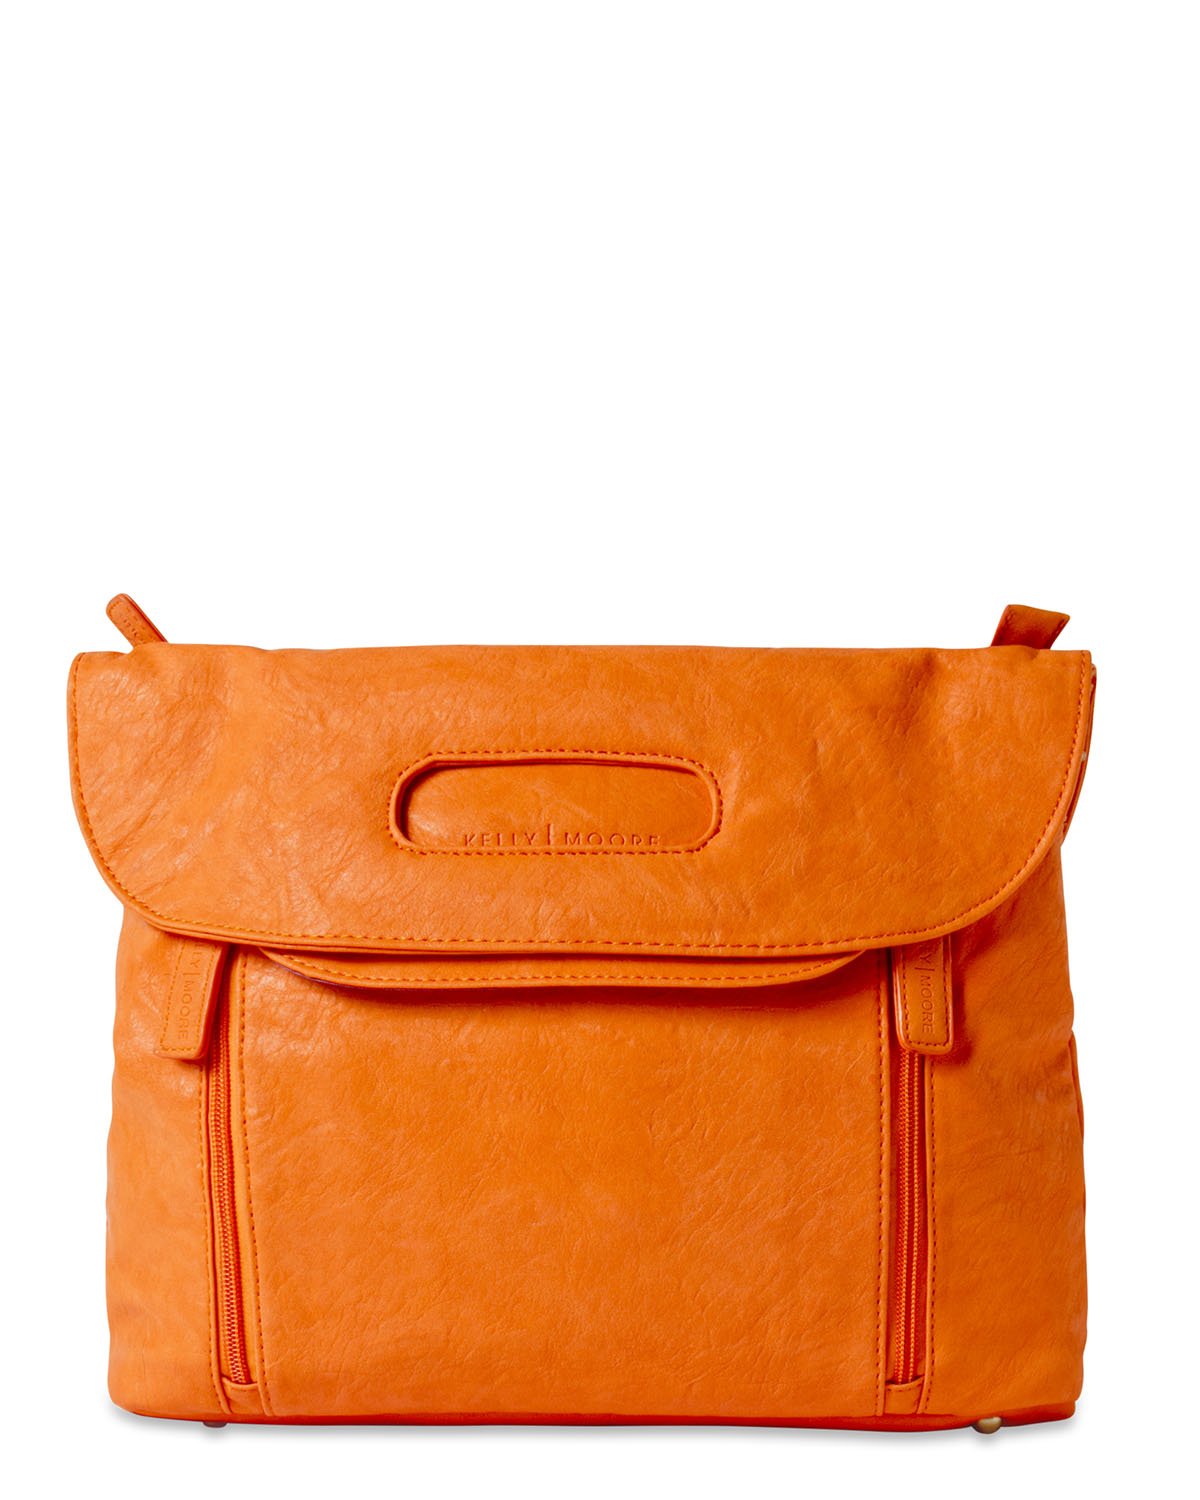
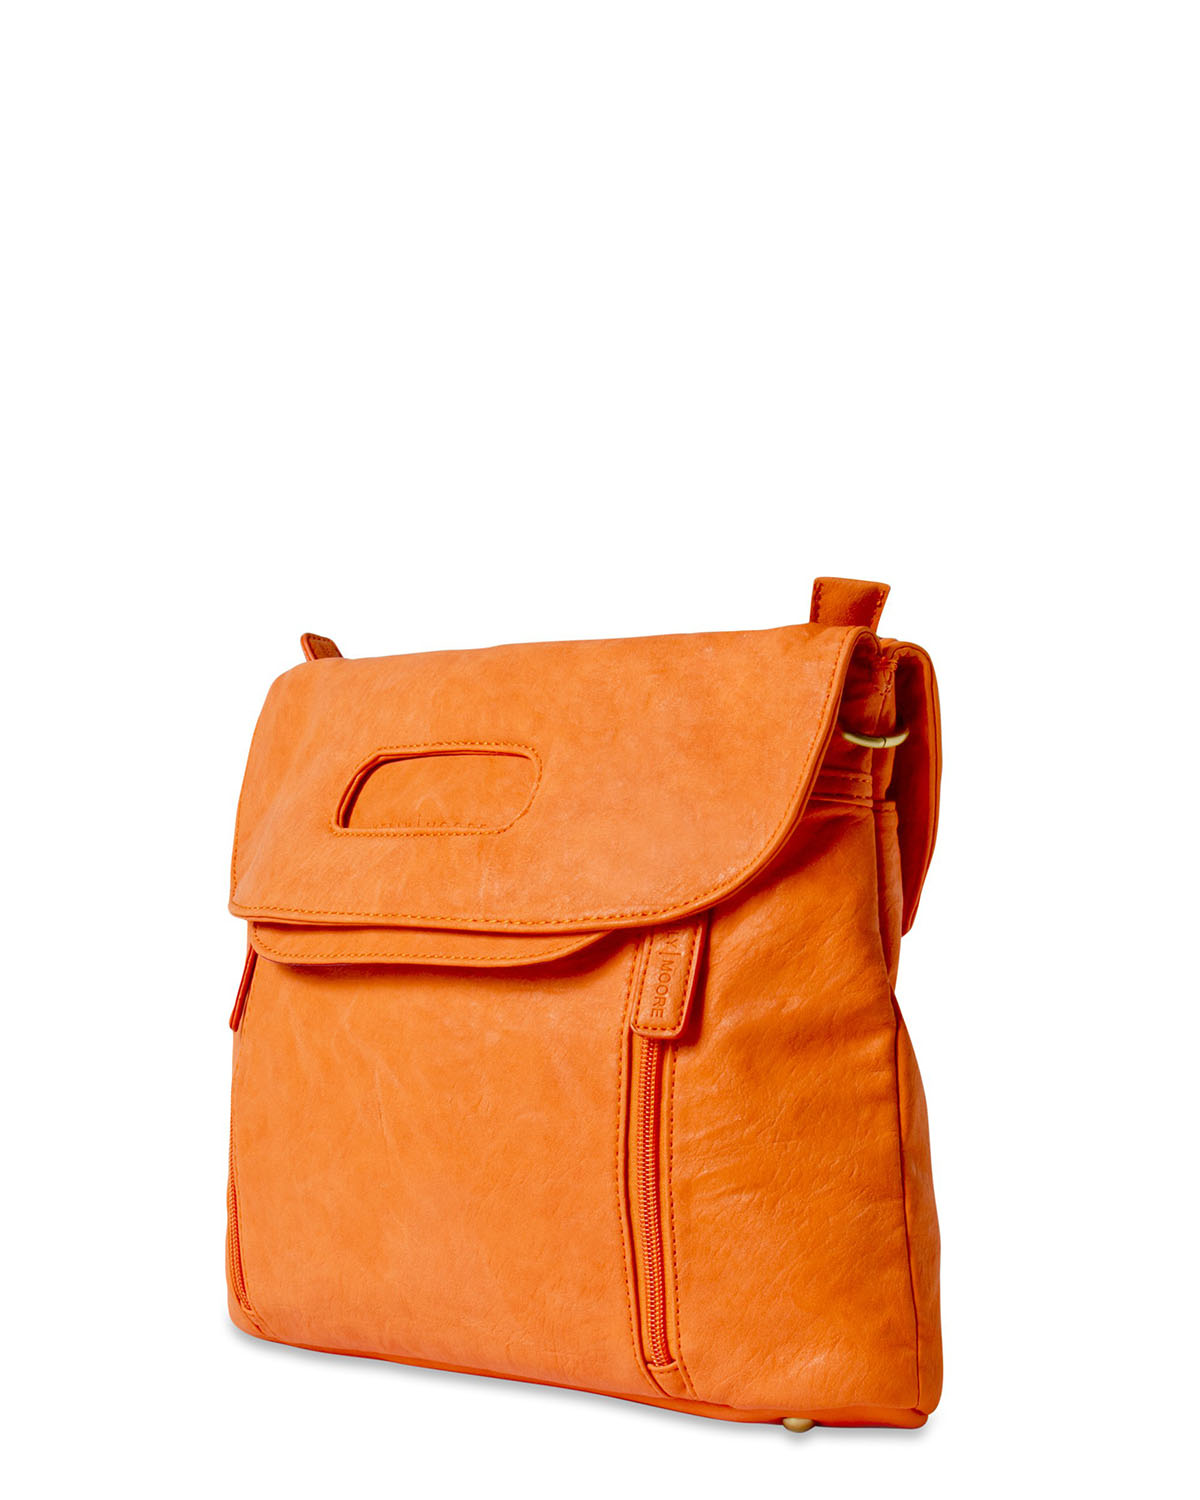
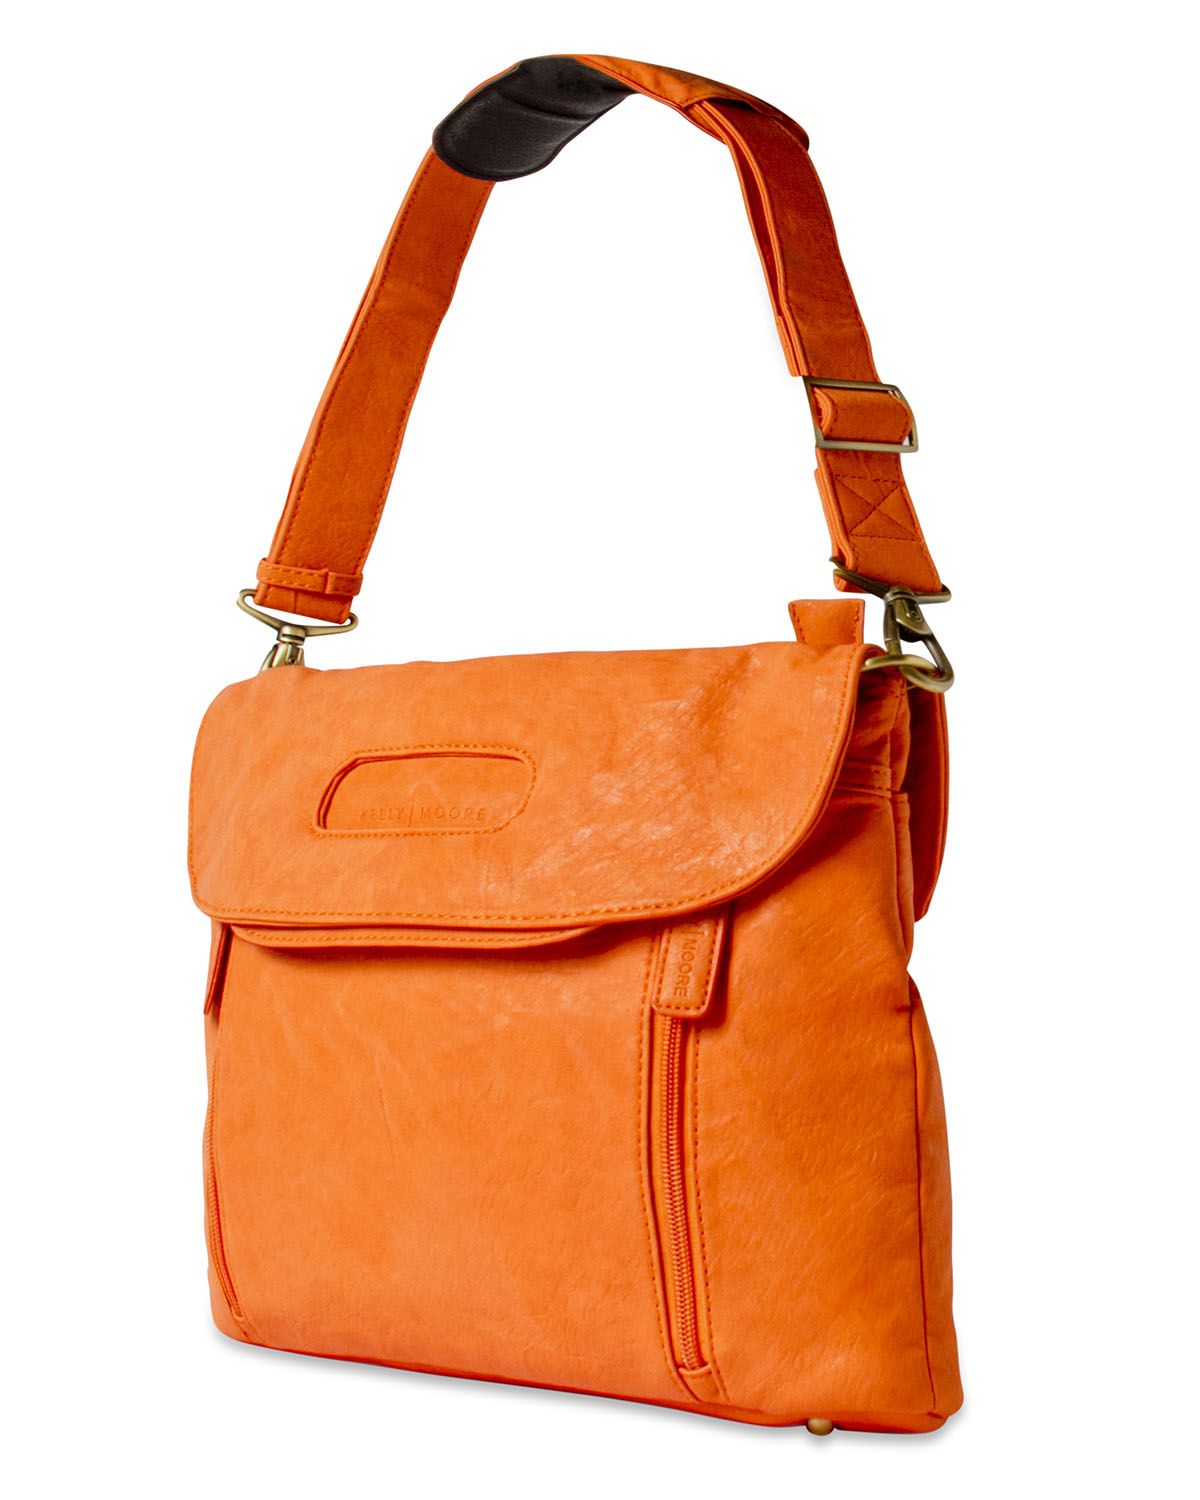
Showing multiple angles of your product is critical. It is a known fact that showing multiple views of your product will significantly improve your conversion rates. Doing so can also help your customer understand the size of the item, and allow them to better visualize product details such as extra pockets, interior lining, special thread, etc. To cover a product well, shoot the front, back, diagonal, bottom, top, interior, and details of the product. For our bag example, a top down shot works well, as we are able to see into the product and appreciate the interior details. Put yourself in your customers shoes and ask yourself what questions they might have about your product. Again, the more images you provide the ‘merrier’ (read increased sales!).
7. Color
The color is another important feature during the online shopping experience. You should make sure your images show the correct color in order to show your customer exactly what they will be getting and reduce returns. It’s important to know that computer screens, as well as web browsers, have a different color profile, which means that every screen and browser interprets colors a little bit differently. To fix this problem and make sure that your product images are as accurate as possible, we recommend you change your .jpeg files to the SRGB color profile.
8. Props
Occasionally the use of props can be a useful addition to your image, especially if you need to show the functions of a product or the size of it. However, make sure the prop does not distract attention from the product, and only consider them in one picture of the series. In the case of an accessory like this purse, having the product shown on a model can help the customer understand the actual size of the product.
Wrapping Up
The time that you put into creating high quality product images for your website will pay off. Initially, it will take time to get your images looking just right, but once you get into the habit of following these tips, creating professional pictures will become second nature and a part of optimizing your product photography workflow. Remember that post-production (product image editing) is the critical next-step to create commercial product images.
At Pixelz, we have built an online platform that can be used to optimize your product images for E-commerce. Utilize our expert image editors to remove backgrounds, clip, crop, align, and retouch your product images to your exact specifications. Our team can also help you optimize your image editing workflow and will save you a significant amount of time and money in the process.


