
Your background should not only flatter and draw attention to your product, but it should also fit your company’s branding, meet marketplace platform image requirements, and be consistent with every other backdrop in every other product photo in your online catalog.

1. Seamless White Paper
For most products, this is best accomplished by using a white product image backdrop of paper, poster board, or foam core board that has been “swept” beneath the product to create a seamless curved background. This technique will create a clean background that doesn’t cast shadows, and the reflective white material (particularly with foam core board and poster board) will bounce soft light back onto your products in a flattering way.
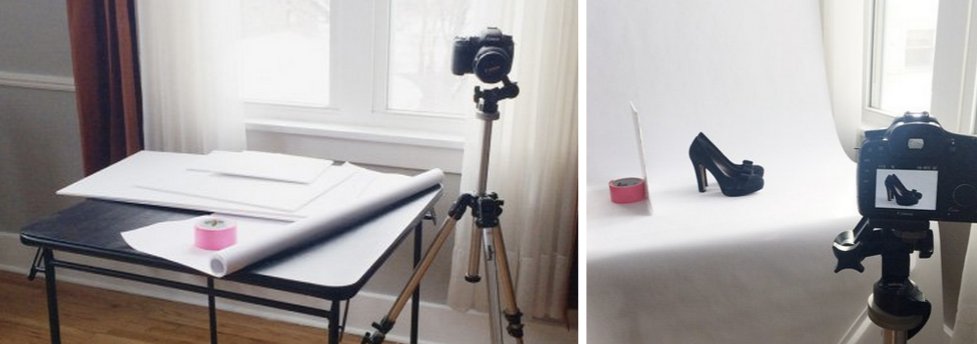
Tape your seamless paper to the ceiling and sweep it down over the table.
For small items, you can buy rolls of seamless white paper at most office supply and camera stores. Amazon offers inexpensive options like this one: $22 – Adorama Seamless 53” Paper 12 yards. It is important to get a long roll of white paper, because you need to create a seamless sweep in order to reduce the amount of post-production work your images will require after shooting.
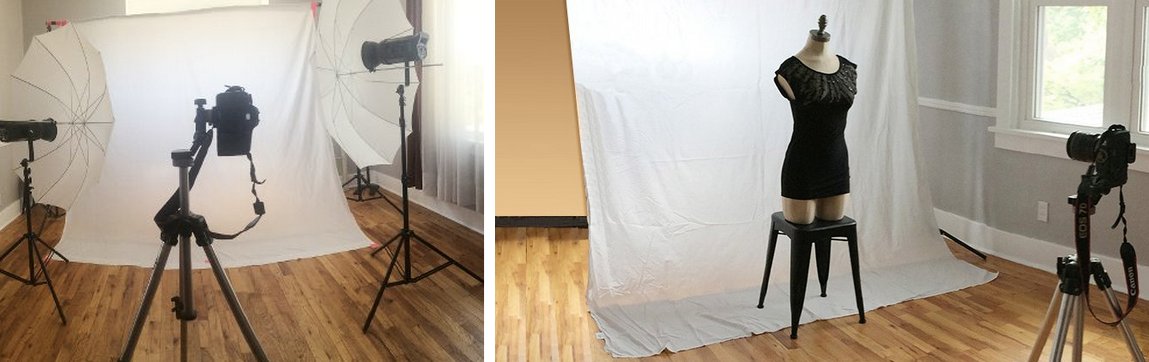
A clean white sheet is an effective background you probably already have on hand.
2. White Sheet
If you’re shooting larger items, you may already own an effective backdrop. A clean white sheet can be swept under a mannequin or product and secured using tape, or allowed to fall straight behind a product that is elevated above the floor. If you want to buy a sheet just for this purpose, you can get one at your local store or a single sheet for $16 on Amazon. Sheets aren’t as crisp as paper, so you won’t get as perfectly seamless an effect, but the convenience may make up for it.
A few dollars and little planning matter to the quality of your product images.
3. White Wall
In a pinch, the quickest and simplest solution is a neutrally colored wall.
Select a wall that is well lit and large enough for your product. White, grey, or lightly-colored walls are generally best because they allow products to stand out, emphasizing colors and textures.
For example: you should photograph a white garment against grey walls (as opposed to white walls) and photograph darker garments against either white or grey.
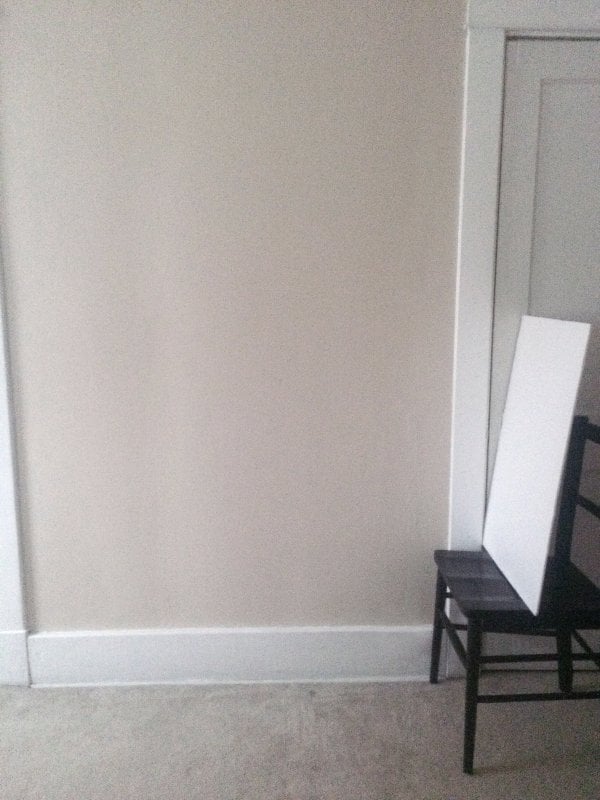
Use a bright, neutrally colored wall.
That’s all there is to it! Use a white or light grey background (if you’re shooting white products), make it as seamless as possible, and be sure it is sized to fit your product. If you follow those simple guidelines, you will keep the focus where it should be: on your product.