
Lighting
Photography is quite literally about capturing light; if you learn how to control light, you’ll be able to create beautiful images under almost any circumstances. There are three proven effective lighting setups for photographing reflective products : back lighting, side lighting, and double overhead lighting. Your choice will depend on your product.
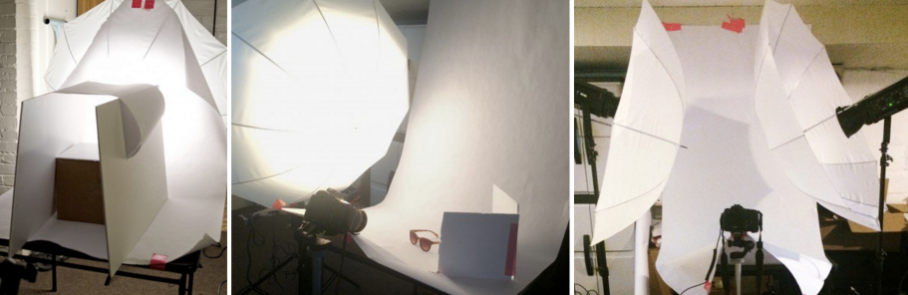
Backlighting, side lighting, and double overhead lighting are effective setups for reflective product photography.
Read this guide for detailed instructions on how to light and shoot products like glass, metal, and jewelry.
If you’re not too familiar with lighting in product photography, you should read our Lighting Equipment 101 guide. It will help you find the right equipment for your shoot, including where to shop, what to buy, how to rent, and workarounds if you’re on a DIY shoestring budget.
In some lighting setups, it can be beneficial to use a lightbox to diffuse light. You can buy one for $30-$100 depending on its size and quality, but if you have a little bit of time we can show you how to build one much cheaper.
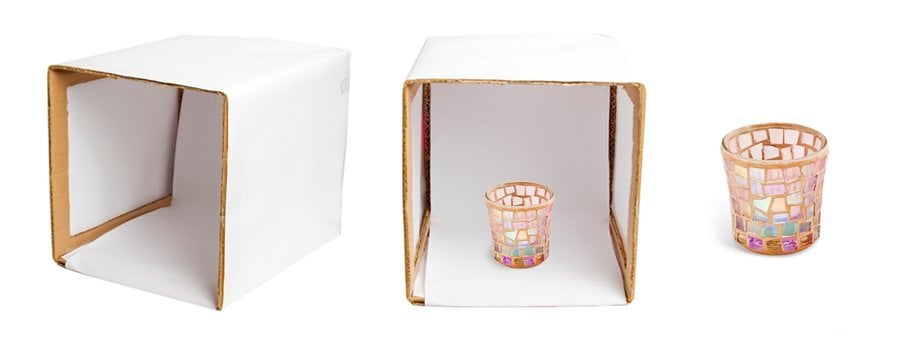
A DIY lightbox for product photography can be an effective diffuser for soft light.
Follow this guide to create a DIY lightbox using just a cardboard box and white paper.
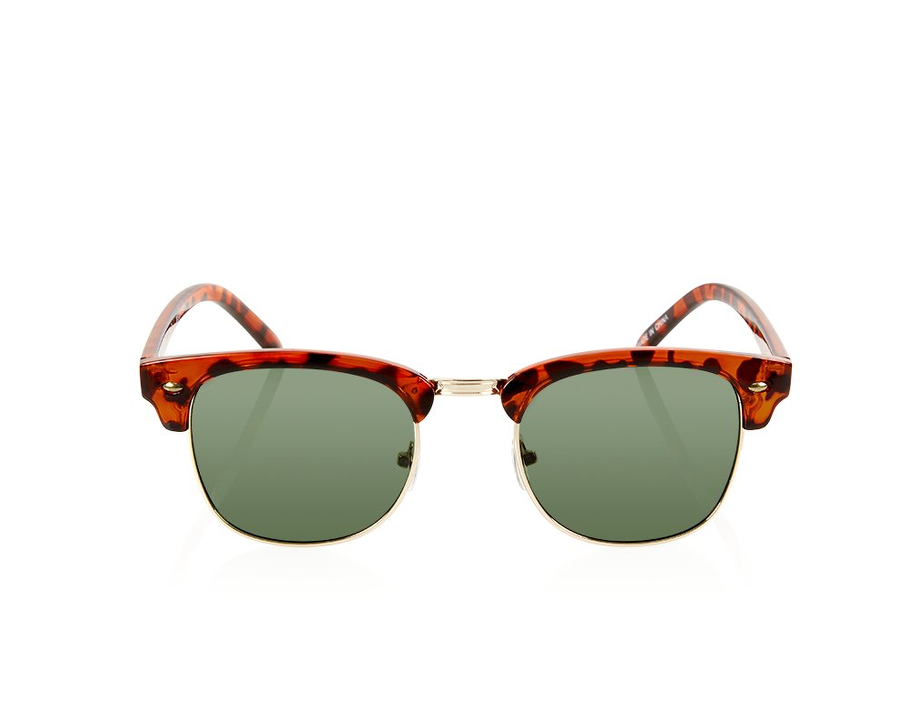
Master lighting, camera settings, and post-production for glass product photography.
Camera Settings
Match your camera settings to your lighting. You want to select the aperture, ISO, and white balance that will provide the most detailed shots possible.
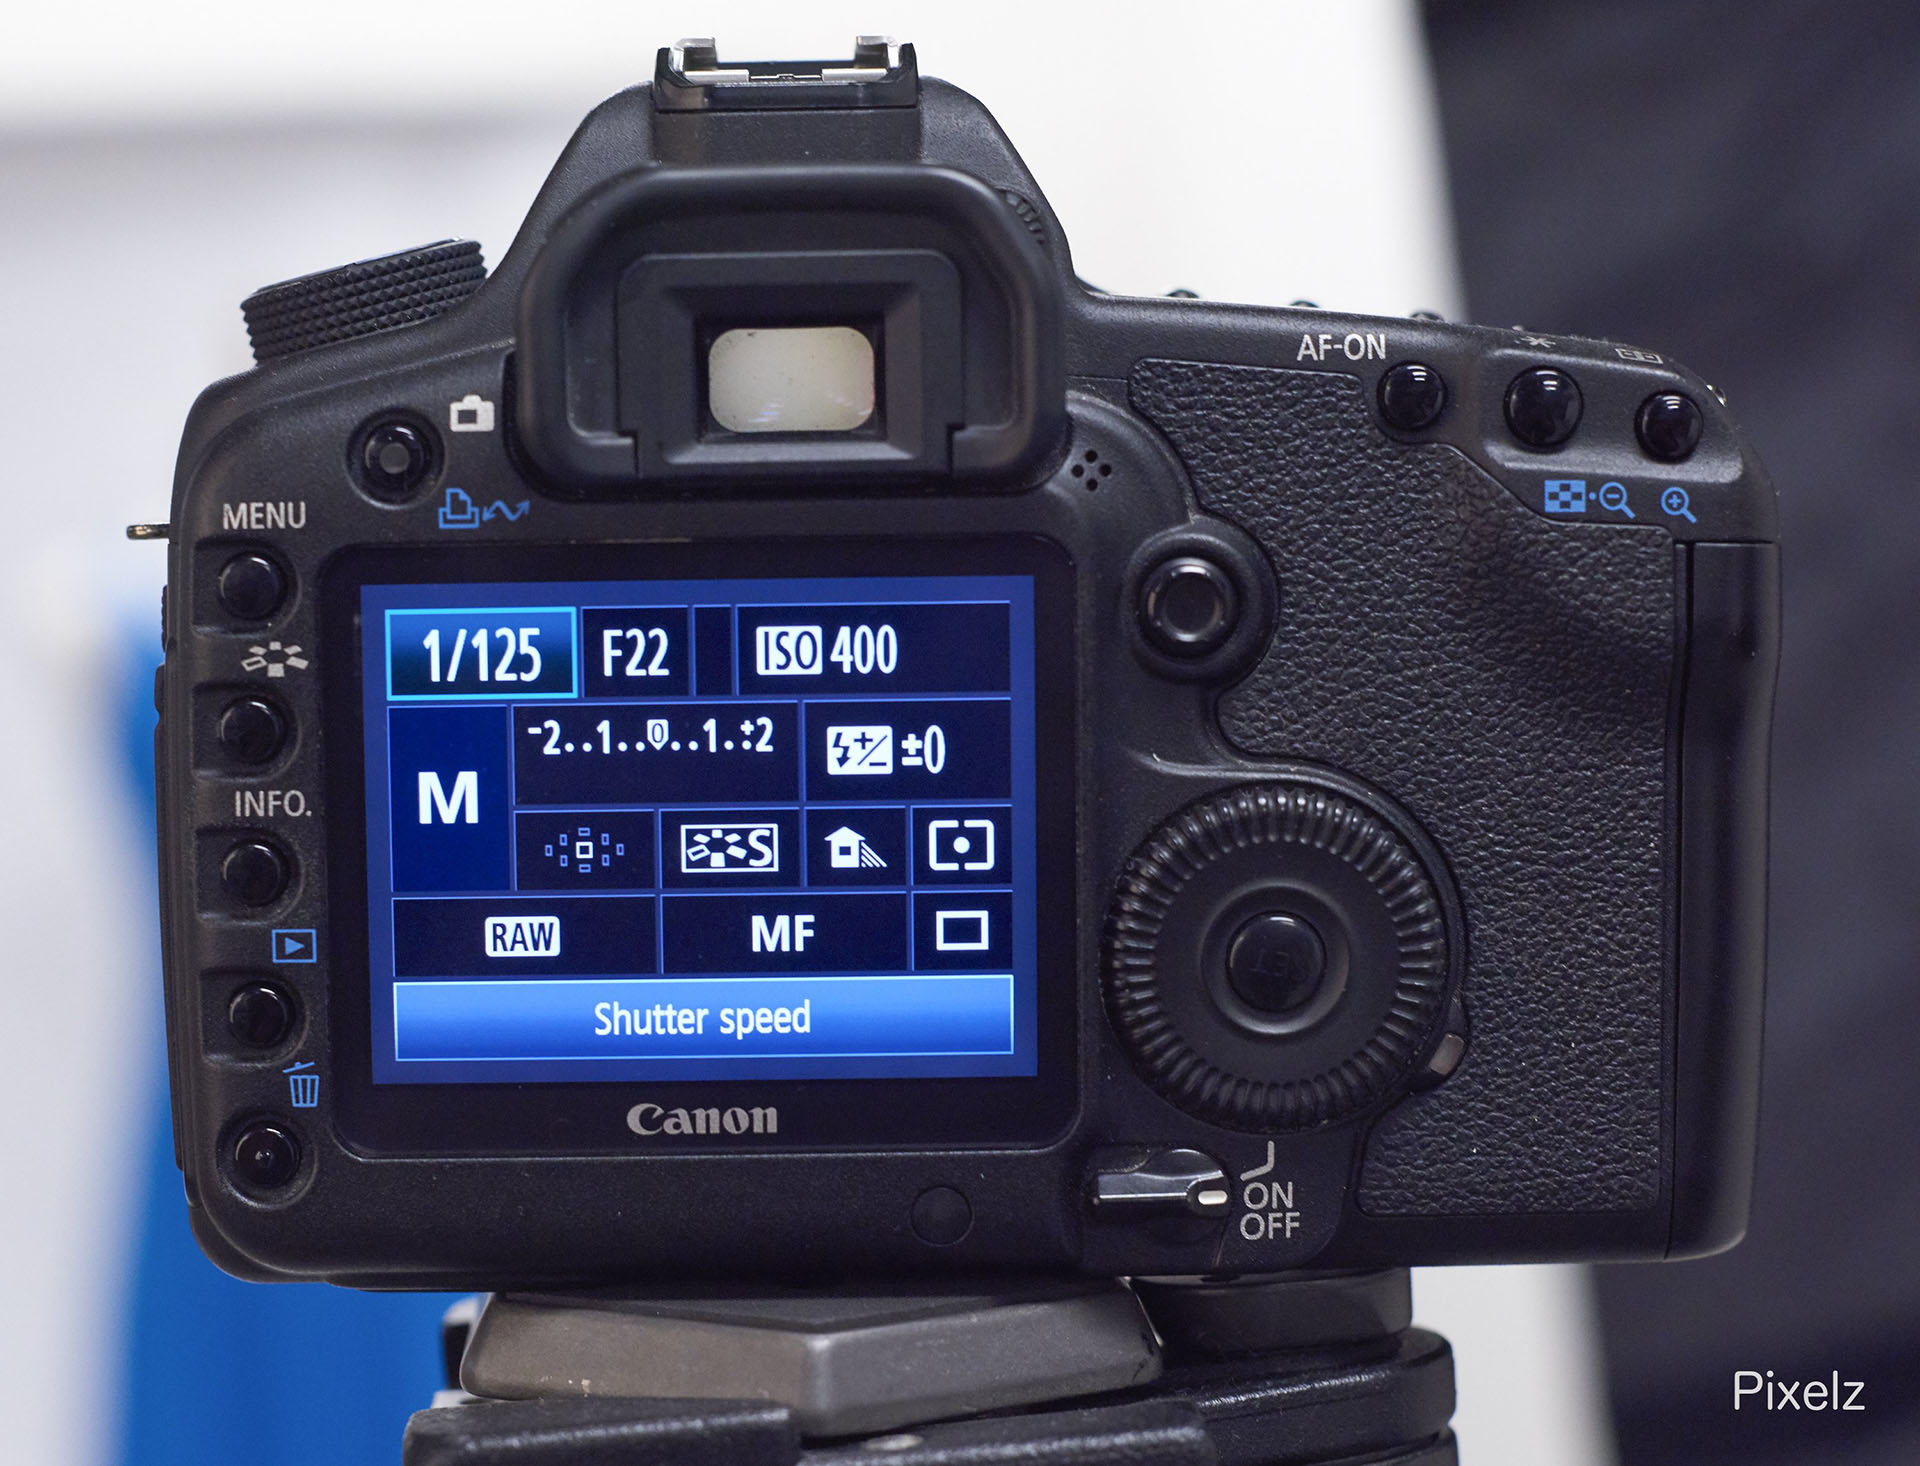
Match your aperture, ISO, and white balance to your lighting setup.
For in-depth examinations of those features, read our camera settings tutorial, see side-by-side comparisons of aperture f-stop settings, and check out our demonstration of how to select the right ISO for product photography.
In brief, adjust your white balance to your light source (like strobe light flashes). You can usually trust your auto white balance, if you don’t feel comfortable setting it manually. Focus your camera on a clearly defined area, like details or the outer edges.
Shoot in manual mode and use a full focus f-stop like f/16 or higher. Use a low ISO setting, like ISO 100, to capture detail. If you want to overexpose your image (blow it out), you’ll need to slow your shutter speed down below your light meter’s recommendation.
Post-Production Processing
No matter how careful you are, sometimes smudges, reflections, and other flaws make their way into your image. You can remove them in post-production processing, as well as perform other image edits to optimize your product images for the web.
Post-product processing will ensure a clean, consistent presentation.
A consistent presentation makes browsing your website easier and less distracting for customers. It’s effective to use a consistent background (usually white), cropping, margins, and alignment. If you’re listing your product in multiple places, many marketplaces and platforms have strict guidelines for your images. Check out this product image cheat sheet for common eCommerce platform image requirements.
Cost-effective software like Adobe Lightroom and Photoshop can help streamline your workflow and perform image edits both in bulk and on individual images. You can tether with Lightroom, connecting your camera to your computer as you shoot, for an extremely efficient workflow.
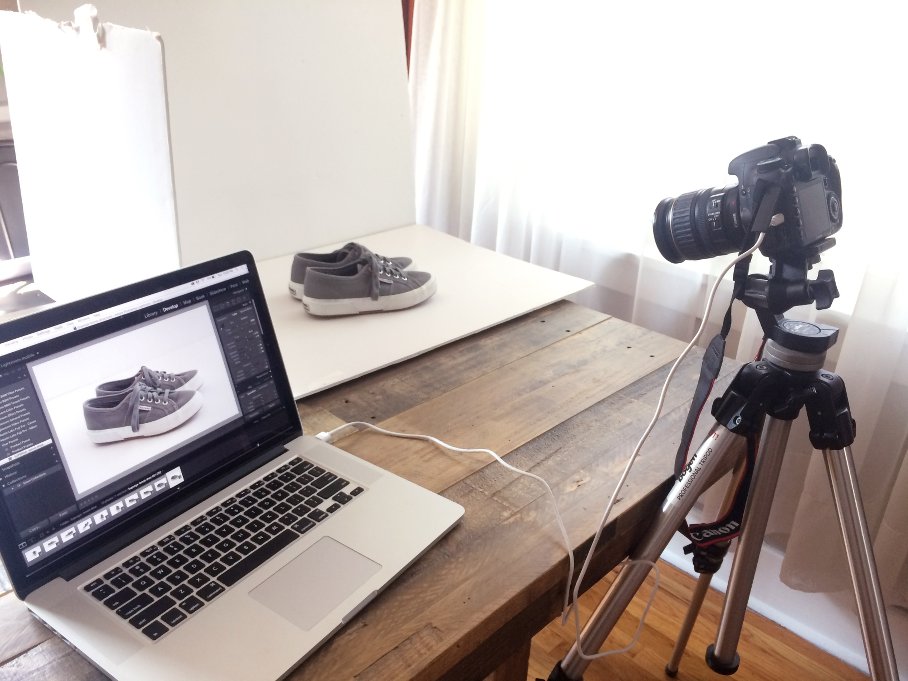
Tethering with Lightroom will help streamline a DIY product photography workflow.
Lightroom is designed specifically for photographers, and provides user friendly tools to perform common edits quickly and in bulk. It also has super helpful organizational features. Photoshop can do almost everything Lightroom does, and a heck of a lot more, but has a much much steeper learning curve. Compare this Lightroom bulk editing guide to this Photoshop “Actions” guide to get a sense of the differences.
You don’t have to choose between the programs, though: Adobe bundles them together in a $10 USD/mo package called the “Creative Cloud Photography” plan.
Minimize reflections and define details: learn how to master glass product photography.
If you don’t have the time, money, or desire to edit product images yourself, consider outsourcing post-production. Pixelz provides powerful yet intuitive tools for defining order specifications for edited images. A 24-hours-or-less turnaround guarantee will help you get your images from studio to web faster, and a free trial lets you try it risk free.
How do you shoot glass products? Do you have any tips, or any challenges you need help with? Let us know in the comments below!